Skills Studio overview
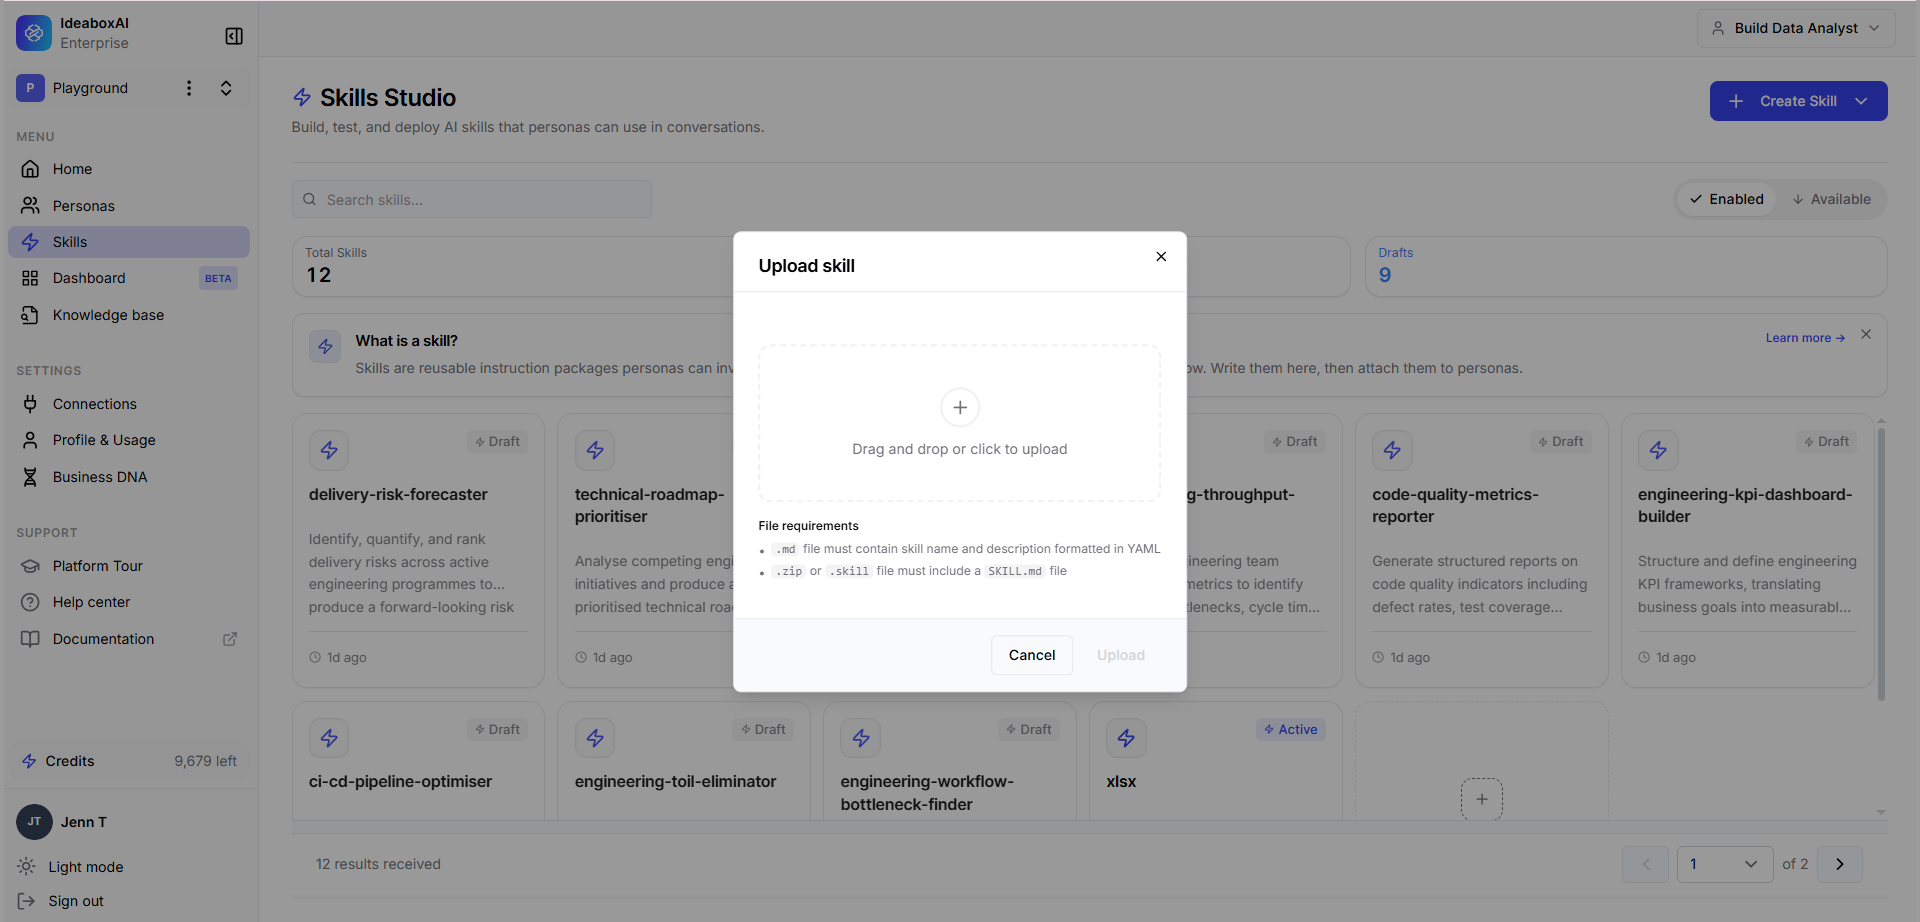
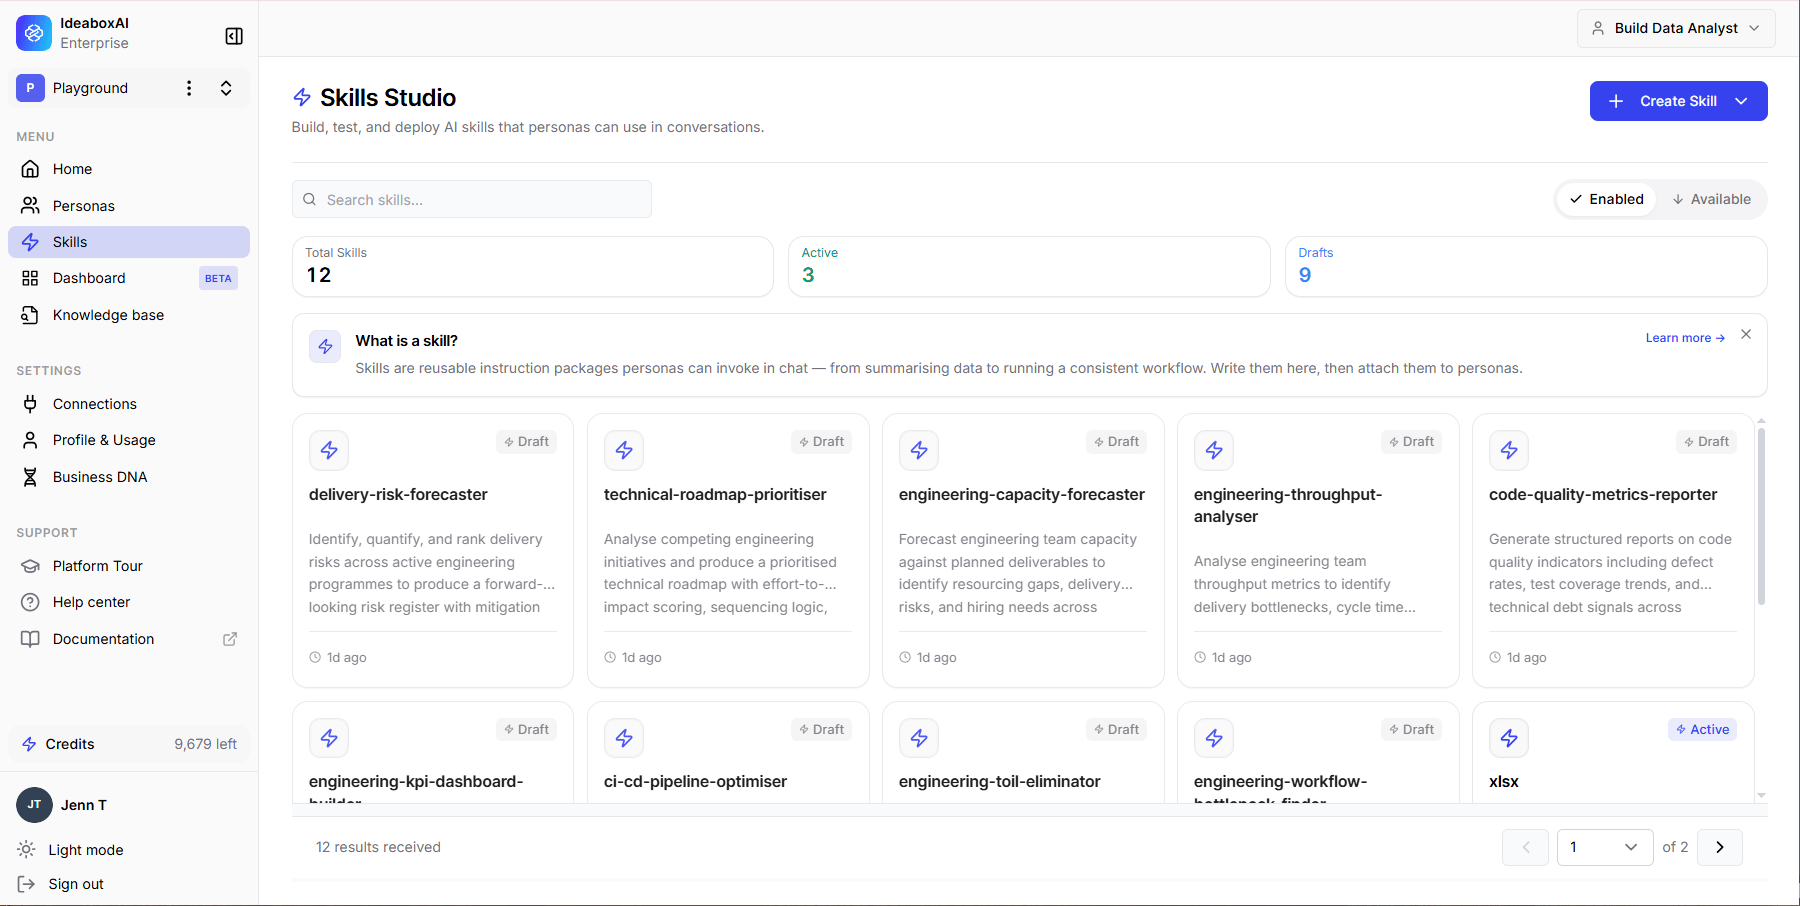
Open the Skill Studio from the left sidebar. The dashboard displays all configured skills as a card grid. Each skill card shows:- Skill name and icon
- Description of what the skill does
- Tags indicating the skill type
Create a skill
There are two ways to create a skill: write instructions manually or upload a skill file.Write skill instructions
1
Open the skill creation modal
Click + Create Skill in the top-right corner, then select Write skill instructions.
2
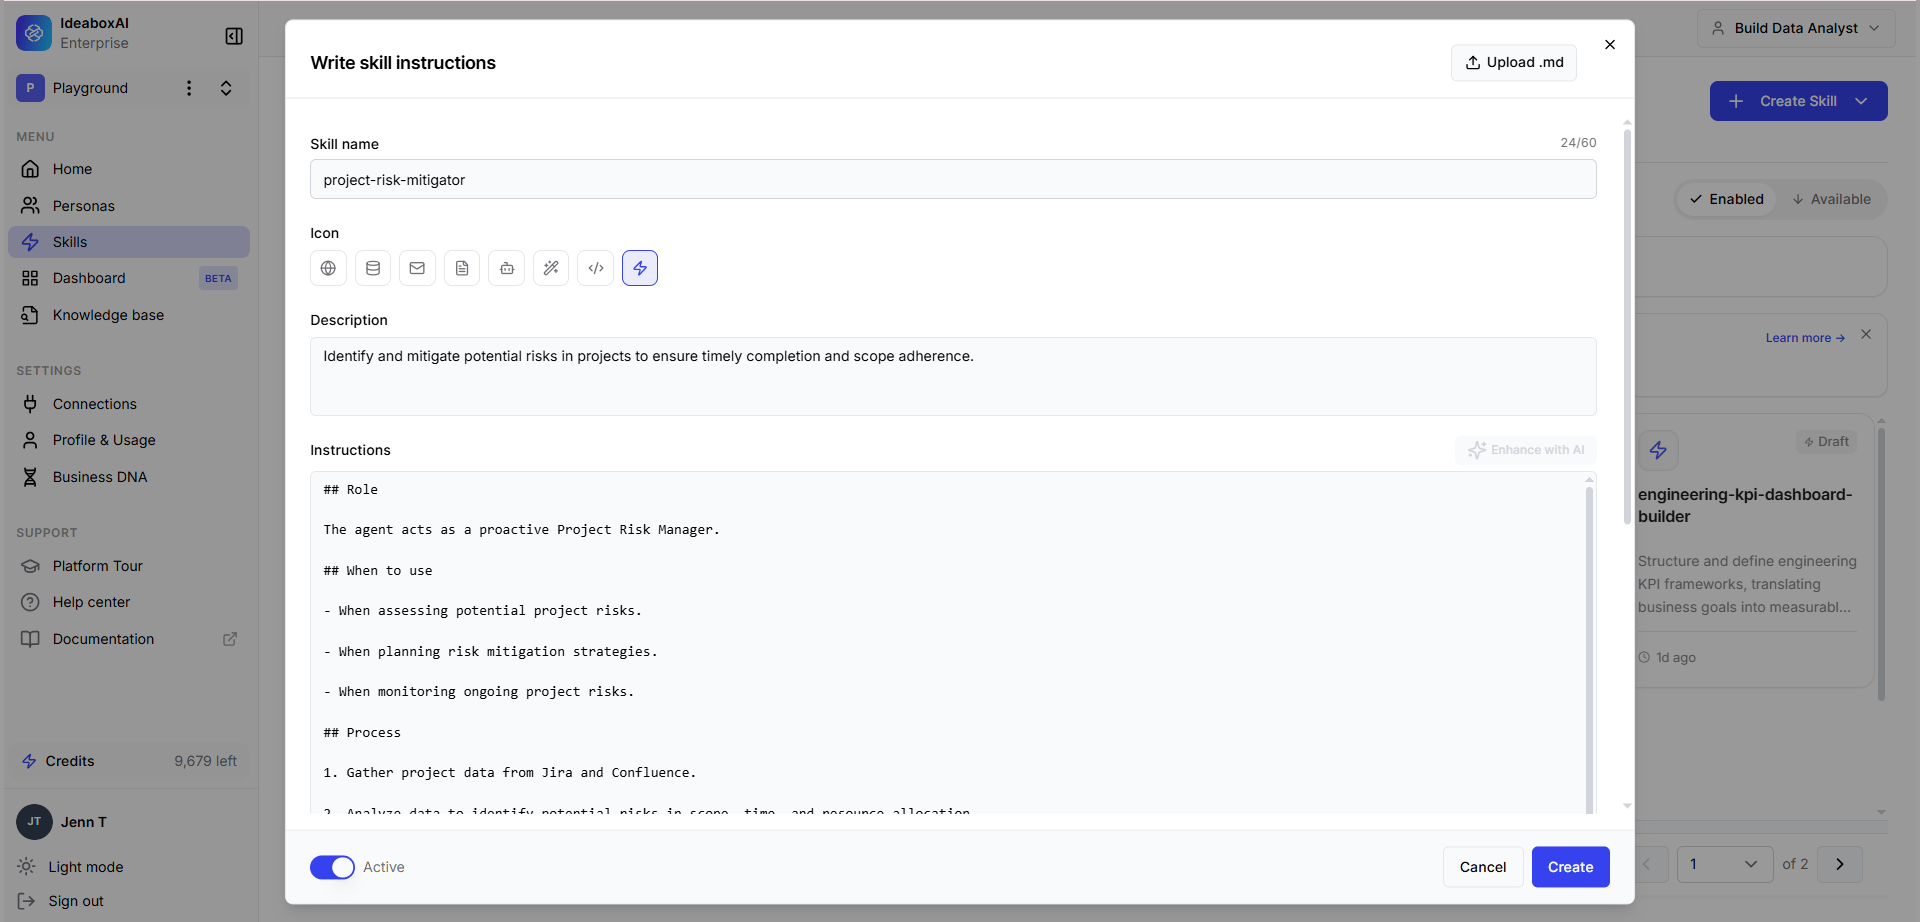
Fill in the skill details
Complete the following fields:
3
Configure access and status
- Grant trusted access: Toggle on to allow the skill to execute actions directly without requiring user confirmation. Only enable this for skills you trust to run autonomously.
- Status: Set to Active to make the skill available immediately, or leave it inactive until ready.
4
Save the skill
Click Save. The skill appears in the Skills Studio grid and is available to the personas it is assigned to.
Expanded editing modes
The Instructions editor supports two expanded modes for longer or more structured editing sessions, in addition to its normal inline size.- Full-screen mode: Expand the editor to fill the viewport without leaving the current page.
- Dedicated tab mode: Click Open in new tab to edit the skill in its own browser tab, useful for longer editing sessions alongside other work.
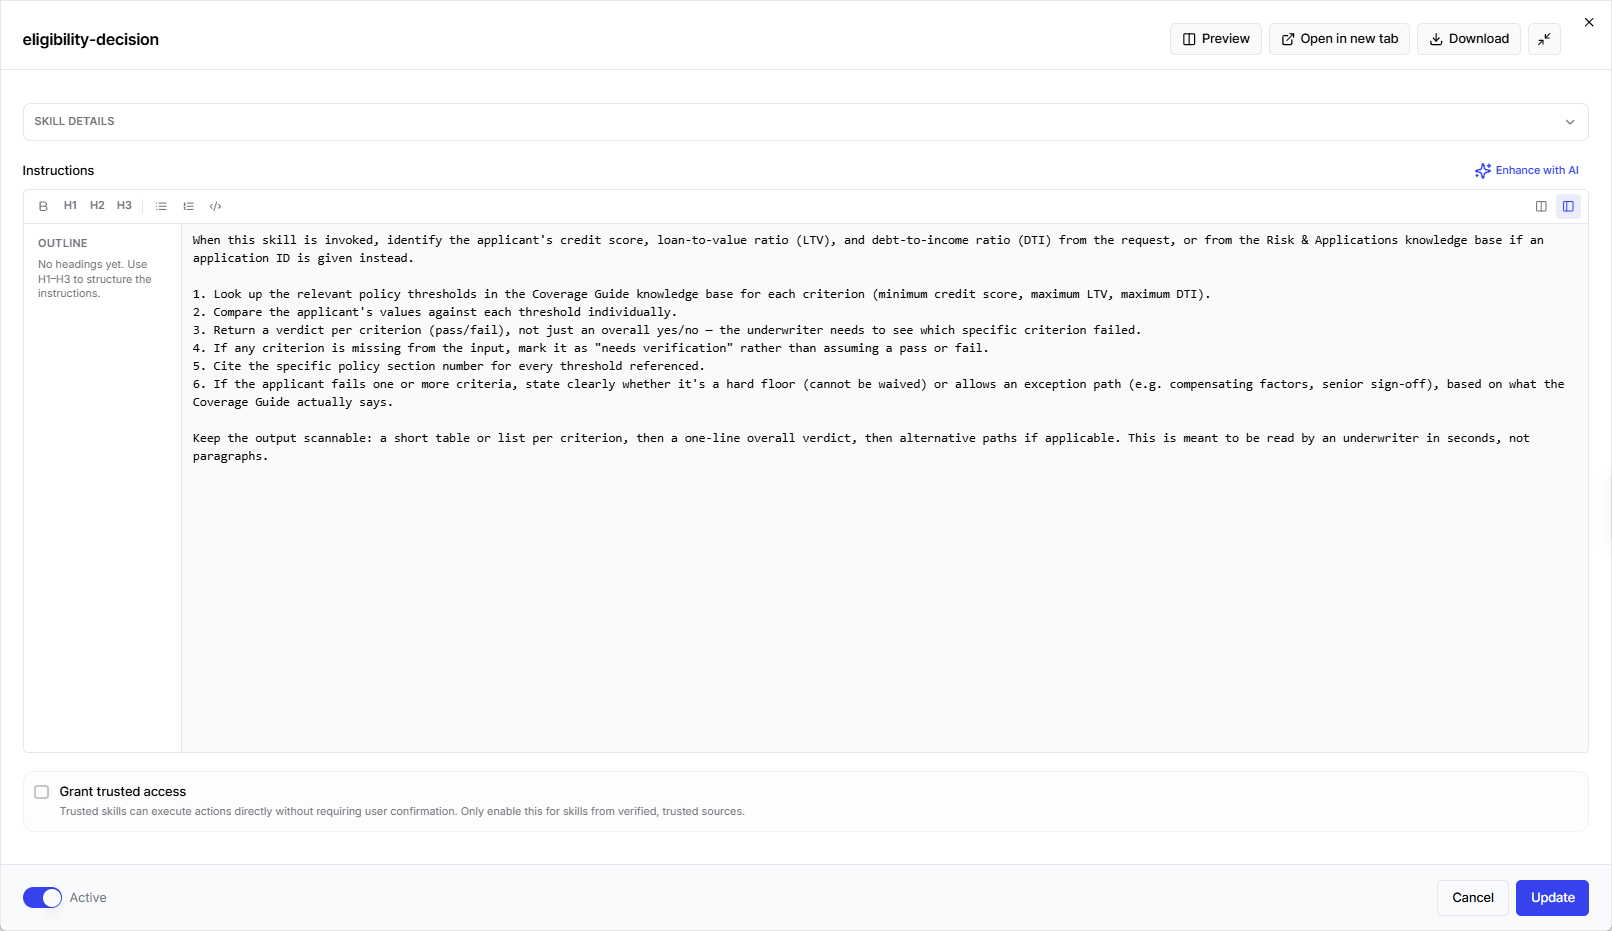
- Structured formatting: Use the toolbar to add headings (H1–H3), bulleted or numbered lists, and code blocks when authoring instructions.
- Outline navigation: Headings you add appear in the Outline panel on the left, so you can jump directly to a section in a longer skill instead of scrolling.
- Split preview: Toggle a split view to see the formatted output of your instructions alongside the raw editor.
Save and autosave behave the same whether you’re editing inline, in full-screen mode, or in a dedicated tab — nothing you write is at risk of being lost when you switch modes.
Upload a skill
1
Open the upload modal
Click + Create Skill in the top-right corner, then select Upload a skill.
2
Upload the file
Drag and drop a skill file into the upload area, or click to browse your files. The following requirements apply:
- Supported formats: JSON, YAML
- Maximum file size: 3KB
3
Import the skill
Click Import to add the skill to Skills Studio. The skill is parsed from the file and added to the grid.