The Admin Console is accessible to users with the Admin persona. It provides controls over the entire workspace, including user management, persona management, connections, and security policies. All changes made in the Admin Console affect the entire workspace.
Only users assigned the Admin persona can access the Admin Console.
User Management
Manage all users in your workspace and control their access. The user management table displays the following columns.
| Column | Description |
|---|
| User Details | Avatar, full name, and email address. |
| Groups | Groups the user belongs to. |
| Roles | Role pills showing assigned roles (e.g. System Admin Role, Demand Admin Role). |
| Status | Active or inactive toggle. |
| Last Modified | Timestamp of the most recent change. |
| Actions | Edit and manage user settings. |

Persona Management
Create, edit, and manage workspace personas. The persona management table displays the following columns.
| Column | Description |
|---|
| Persona | Name of the persona. |
| Description | Short description of the persona’s purpose. |
| Users | Number of users assigned to the persona. |
| Status | Active or inactive status. |
| Last Modified | Timestamp of the most recent change. |

Connection management
Admin-level connection management determines which integrations are visible to users. Only approved connections appear in user Settings > Connections. The header displays the total count of approved connections.
Connection list
The connection list is presented as a table with the following columns.
| Column | Description |
|---|
| Connection | Icon, name, and short description of the integration. |
| Category | Badge indicating the type: API, MCP, or DATABASE. |
| Status | Current connection status (e.g. Not connected, or saved connection count). |
| Actions | Connect button to initiate setup, or Settings to reconfigure existing connections. |
| Approved | On/Off toggle controlling user visibility. |
Approved ON means users can see and connect the integration in their own Settings. Approved OFF hides the integration from all non-admin users.

APIs
Filter by APIs to view all API-based integrations. Each row shows the connection name, category badge, connection status, and an Approved toggle. Use the Connect button to initiate OAuth or API key setup, and Settings to reconfigure existing connections.

Databases
Filter by Databases to view database providers. Each database connection shows the provider name, category badge, saved connection count, and an Add connection action for configuring additional database instances.

Security
Granular access control organised into four tabs: Resources, Policies, Roles, and Groups.
Resources tab
Resources are named groups that represent collections of platform entities. The resources table displays the following columns.
| Column | Description |
|---|
| Name | The resource group name. |
| Entity | Badge indicating the type: Dashboard, Knowledge Base, Project, or Resource. |
| Last Modified | Timestamp of the most recent change. |
Add resource modal
Select entity type
Choose from the available entity types: Dashboard, Knowledge Base, Project, User, Resource, Policy, Role, or Group.
Define the resource
Enter a Resource Name and Description.
Add conditions (optional)
Build conditional rules using a field dropdown, operator, and value. Combine conditions with AND / OR logic.

Policies tab
Policies define access rules by combining a subject (role), actions (permissions), and a resource. The policies table displays the following columns.
| Column | Description |
|---|
| Policy Admin | Name and description of the policy. |
| Resources | The resource group the policy applies to. |
| Actions | Permission icons indicating granted actions: Create, Converse, Update, View, Delete. |
| Roles | Roles assigned to this policy. |
| Last Modified | Timestamp of the most recent change. |

Roles tab
Roles are named permission levels that control what users can do within the workspace. The roles table displays the following columns.
| Column | Description |
|---|
| Role Name | Name and description of the role. |
| Users | User pills showing assigned members, with a count for additional users. |
| Policies | Policy pills showing attached policies. |
| Groups | Associated groups. |
| Last Modified | Timestamp of the most recent change. |

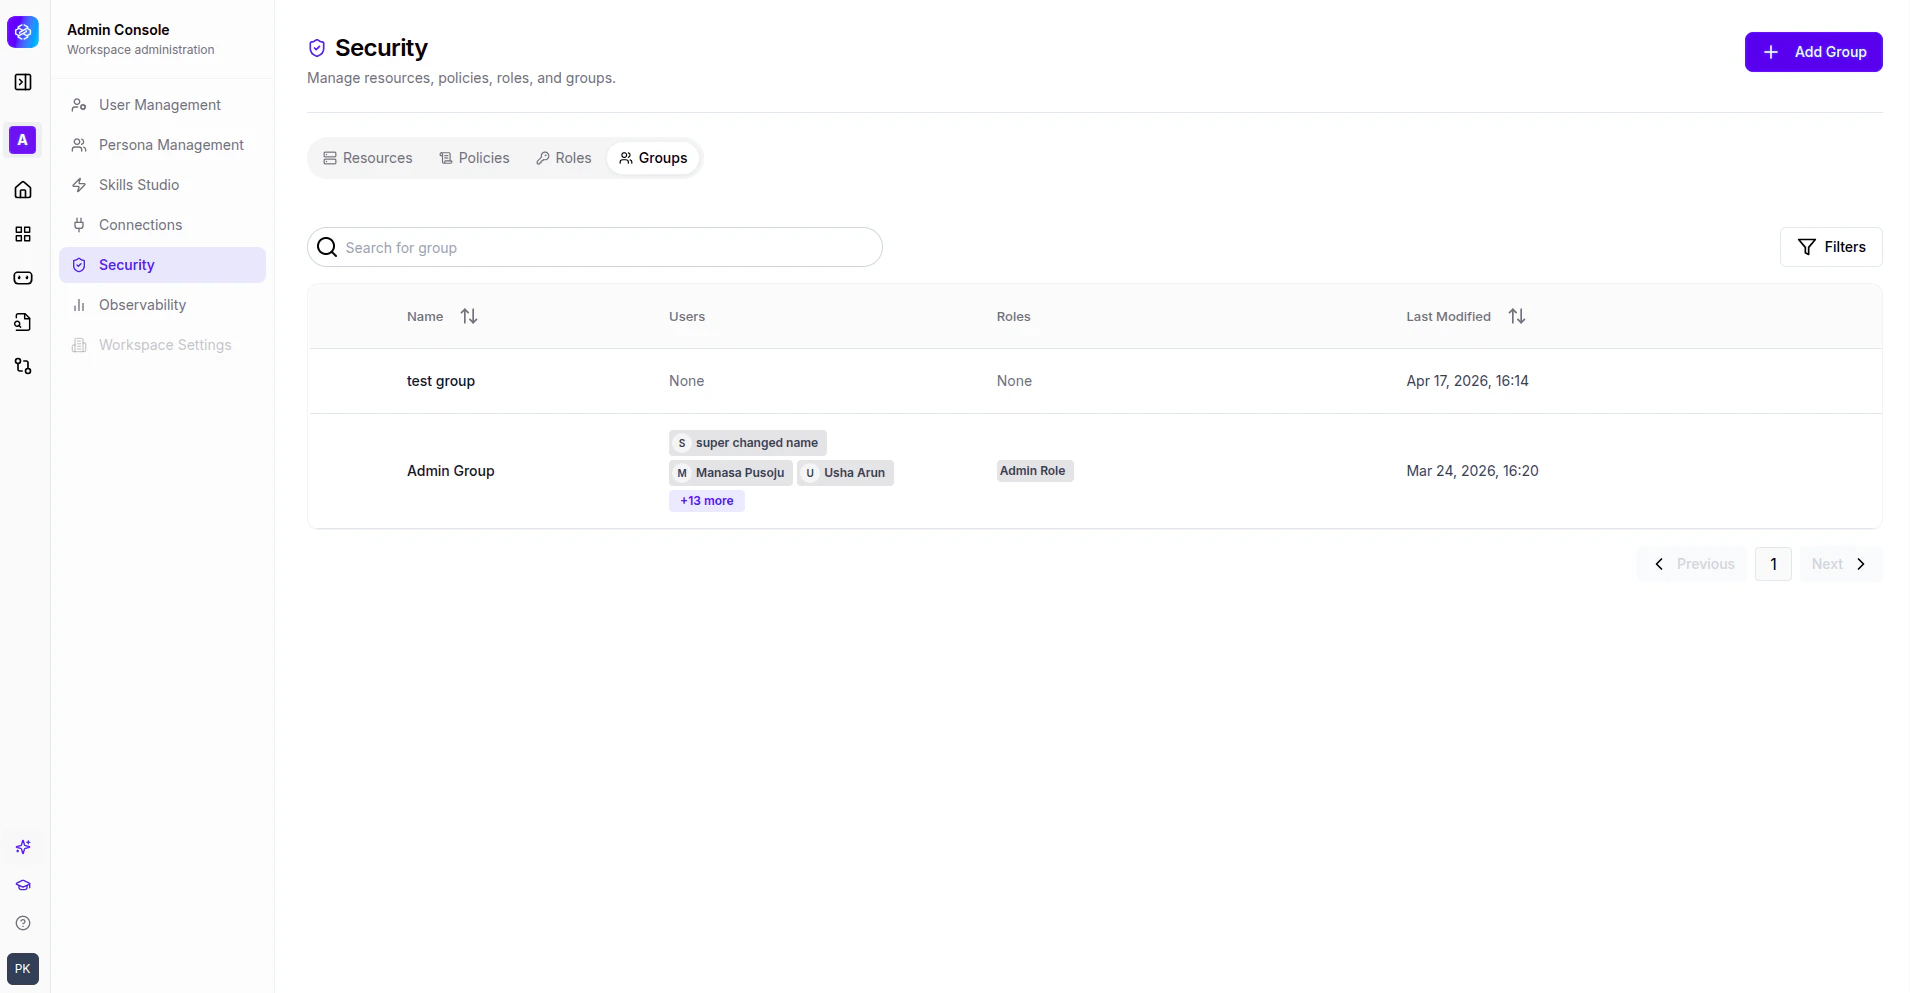
Groups tab
Groups are named collections of users for bulk role assignment. The groups table displays the following columns.
| Column | Description |
|---|
| Name | Group name. |
| Users | User pills showing group members, with a count for additional users. |
| Roles | Role pills showing assigned roles. |
| Last Modified | Timestamp of the most recent change. |