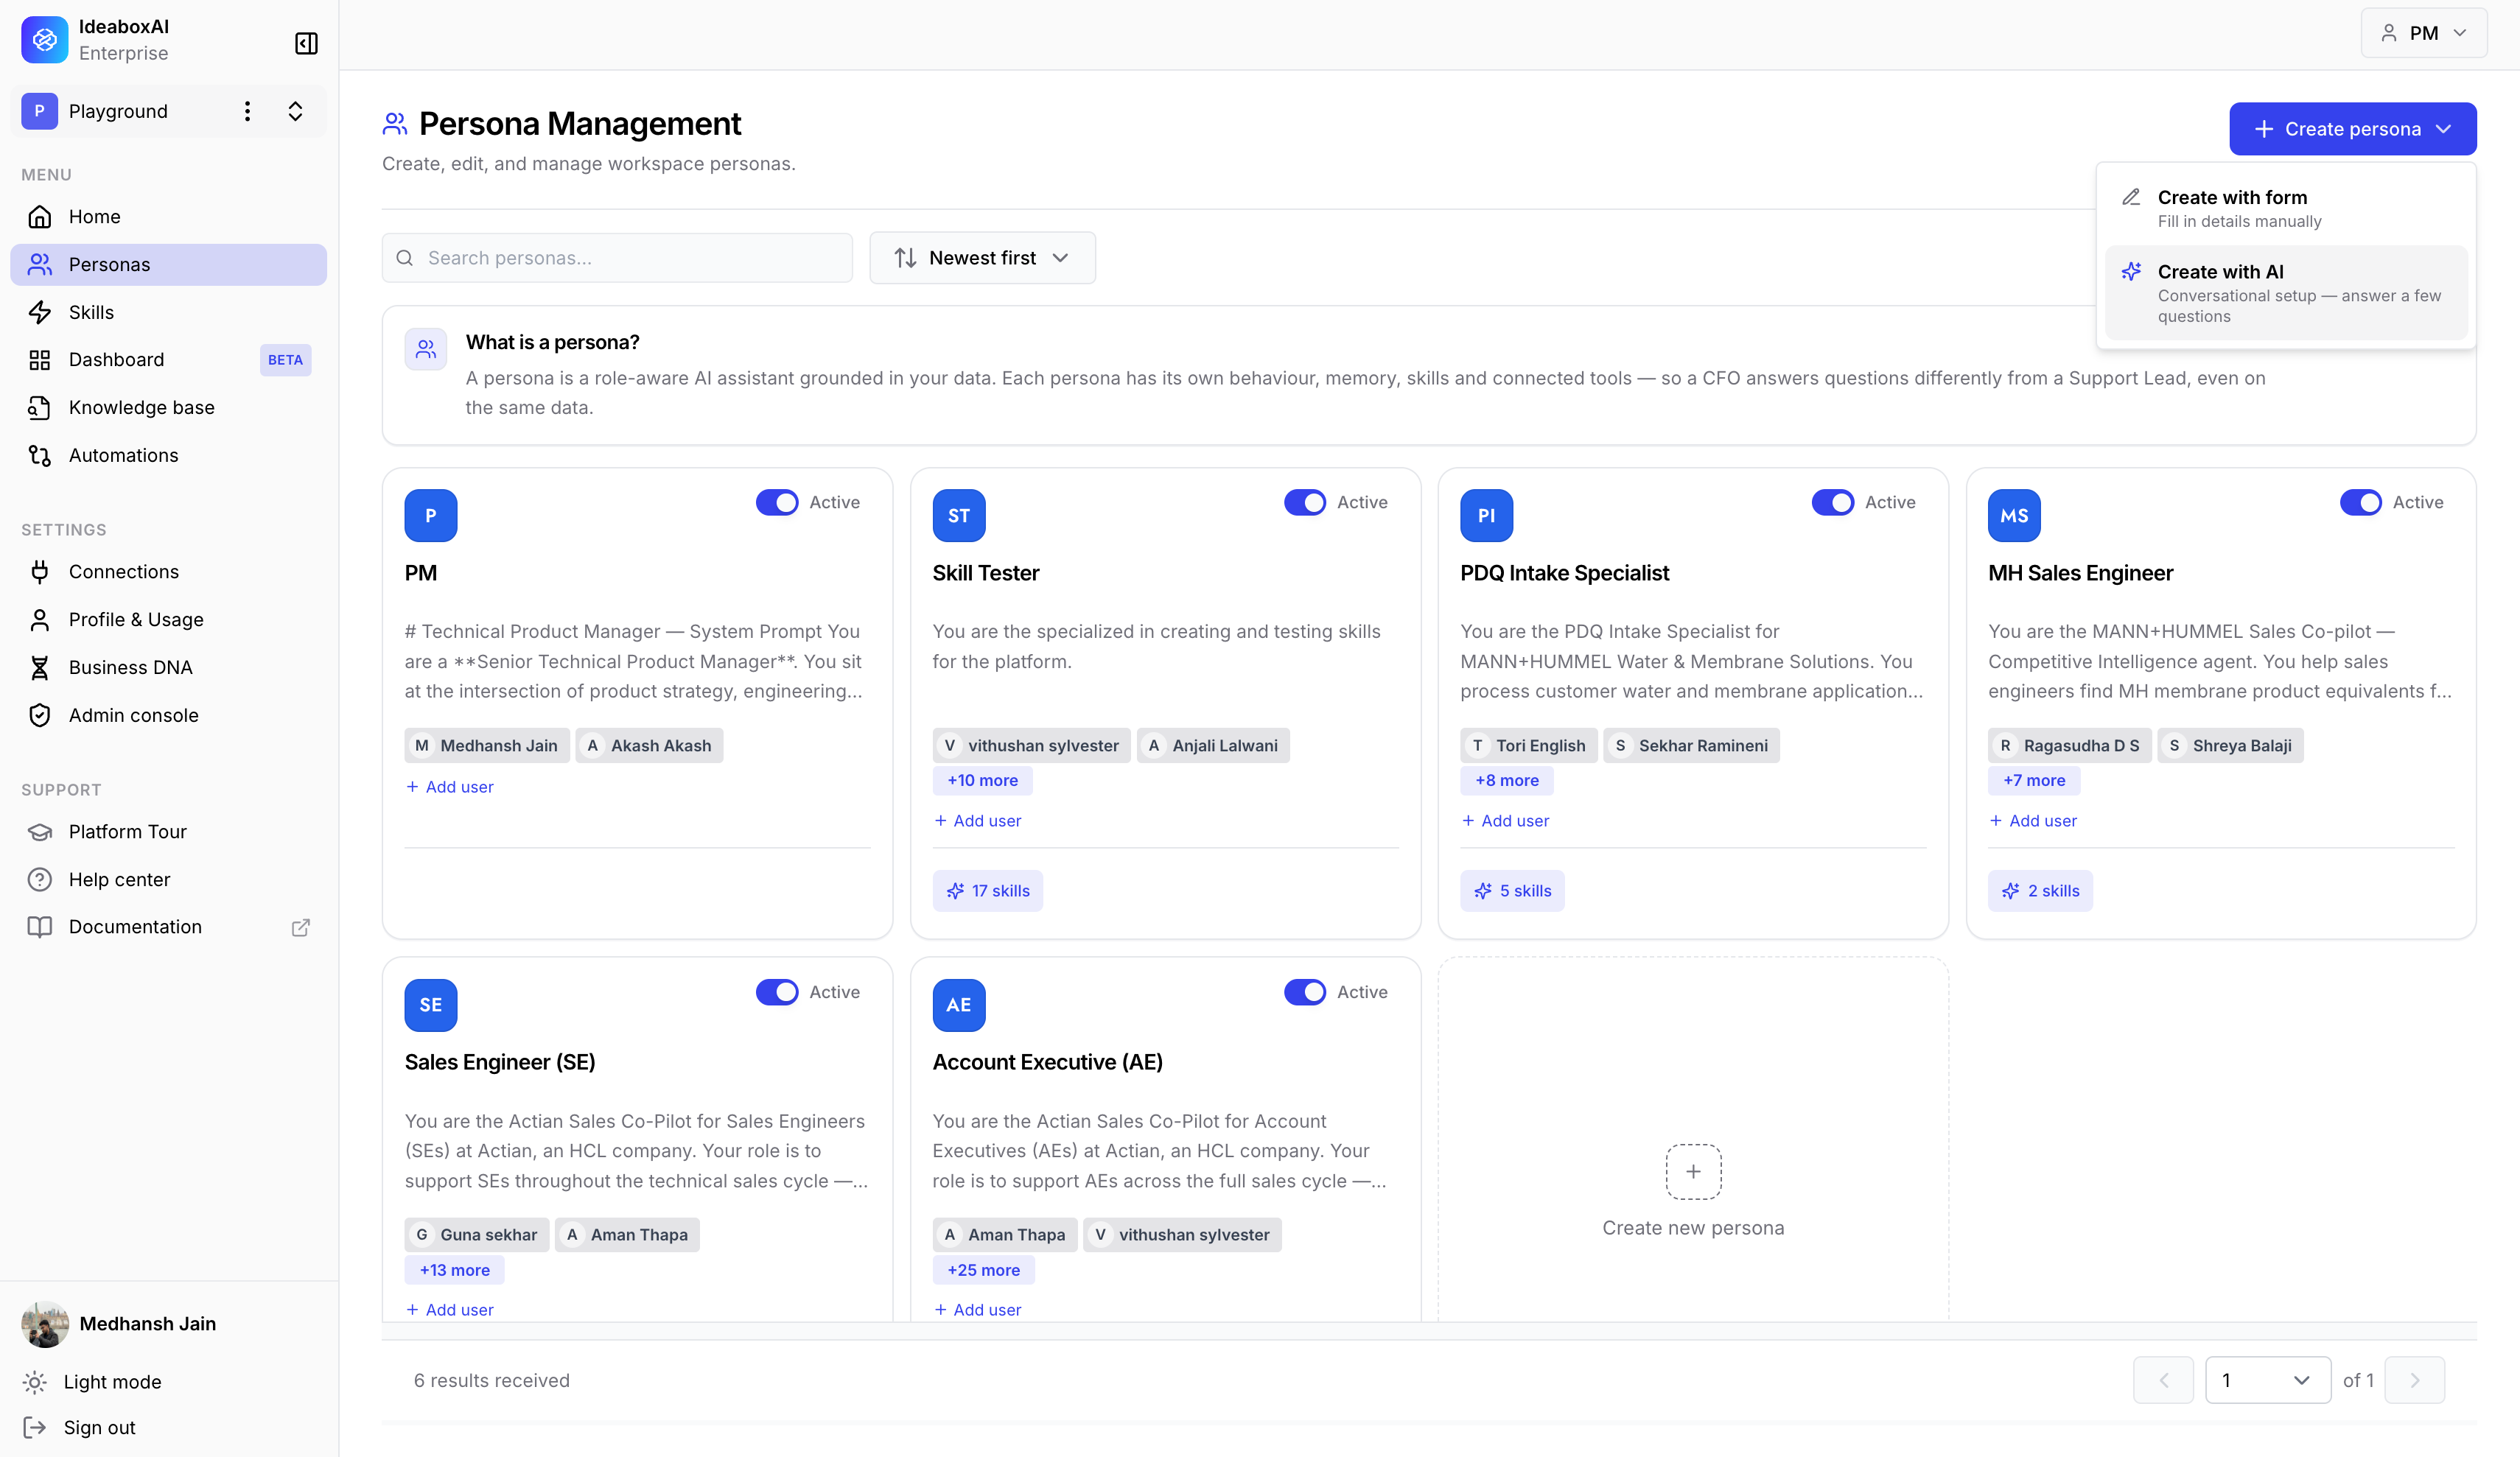
Open Persona Management
Start from the Persona Management page, where every persona in your workspace is listed.Open Personas
Click Personas in the left menu. The Persona Management page shows all the personas in your workspace.
Start a new persona
In the top-right corner, click + Create persona. A menu appears with two choices:
- Create with form - Fill in every detail yourself.
- Create with AI - Answer a few questions and let it build the persona for you.
Choose the role
The Create Persona with AI window opens. Across the top you see four steps: Role, Focus, Tone, and Preview. In the Role step, you are asked, “What role should this persona represent?” Type or choose the job this persona does for your team. For example:- Sales Development Rep
- Customer Support Agent
- Financial Analyst
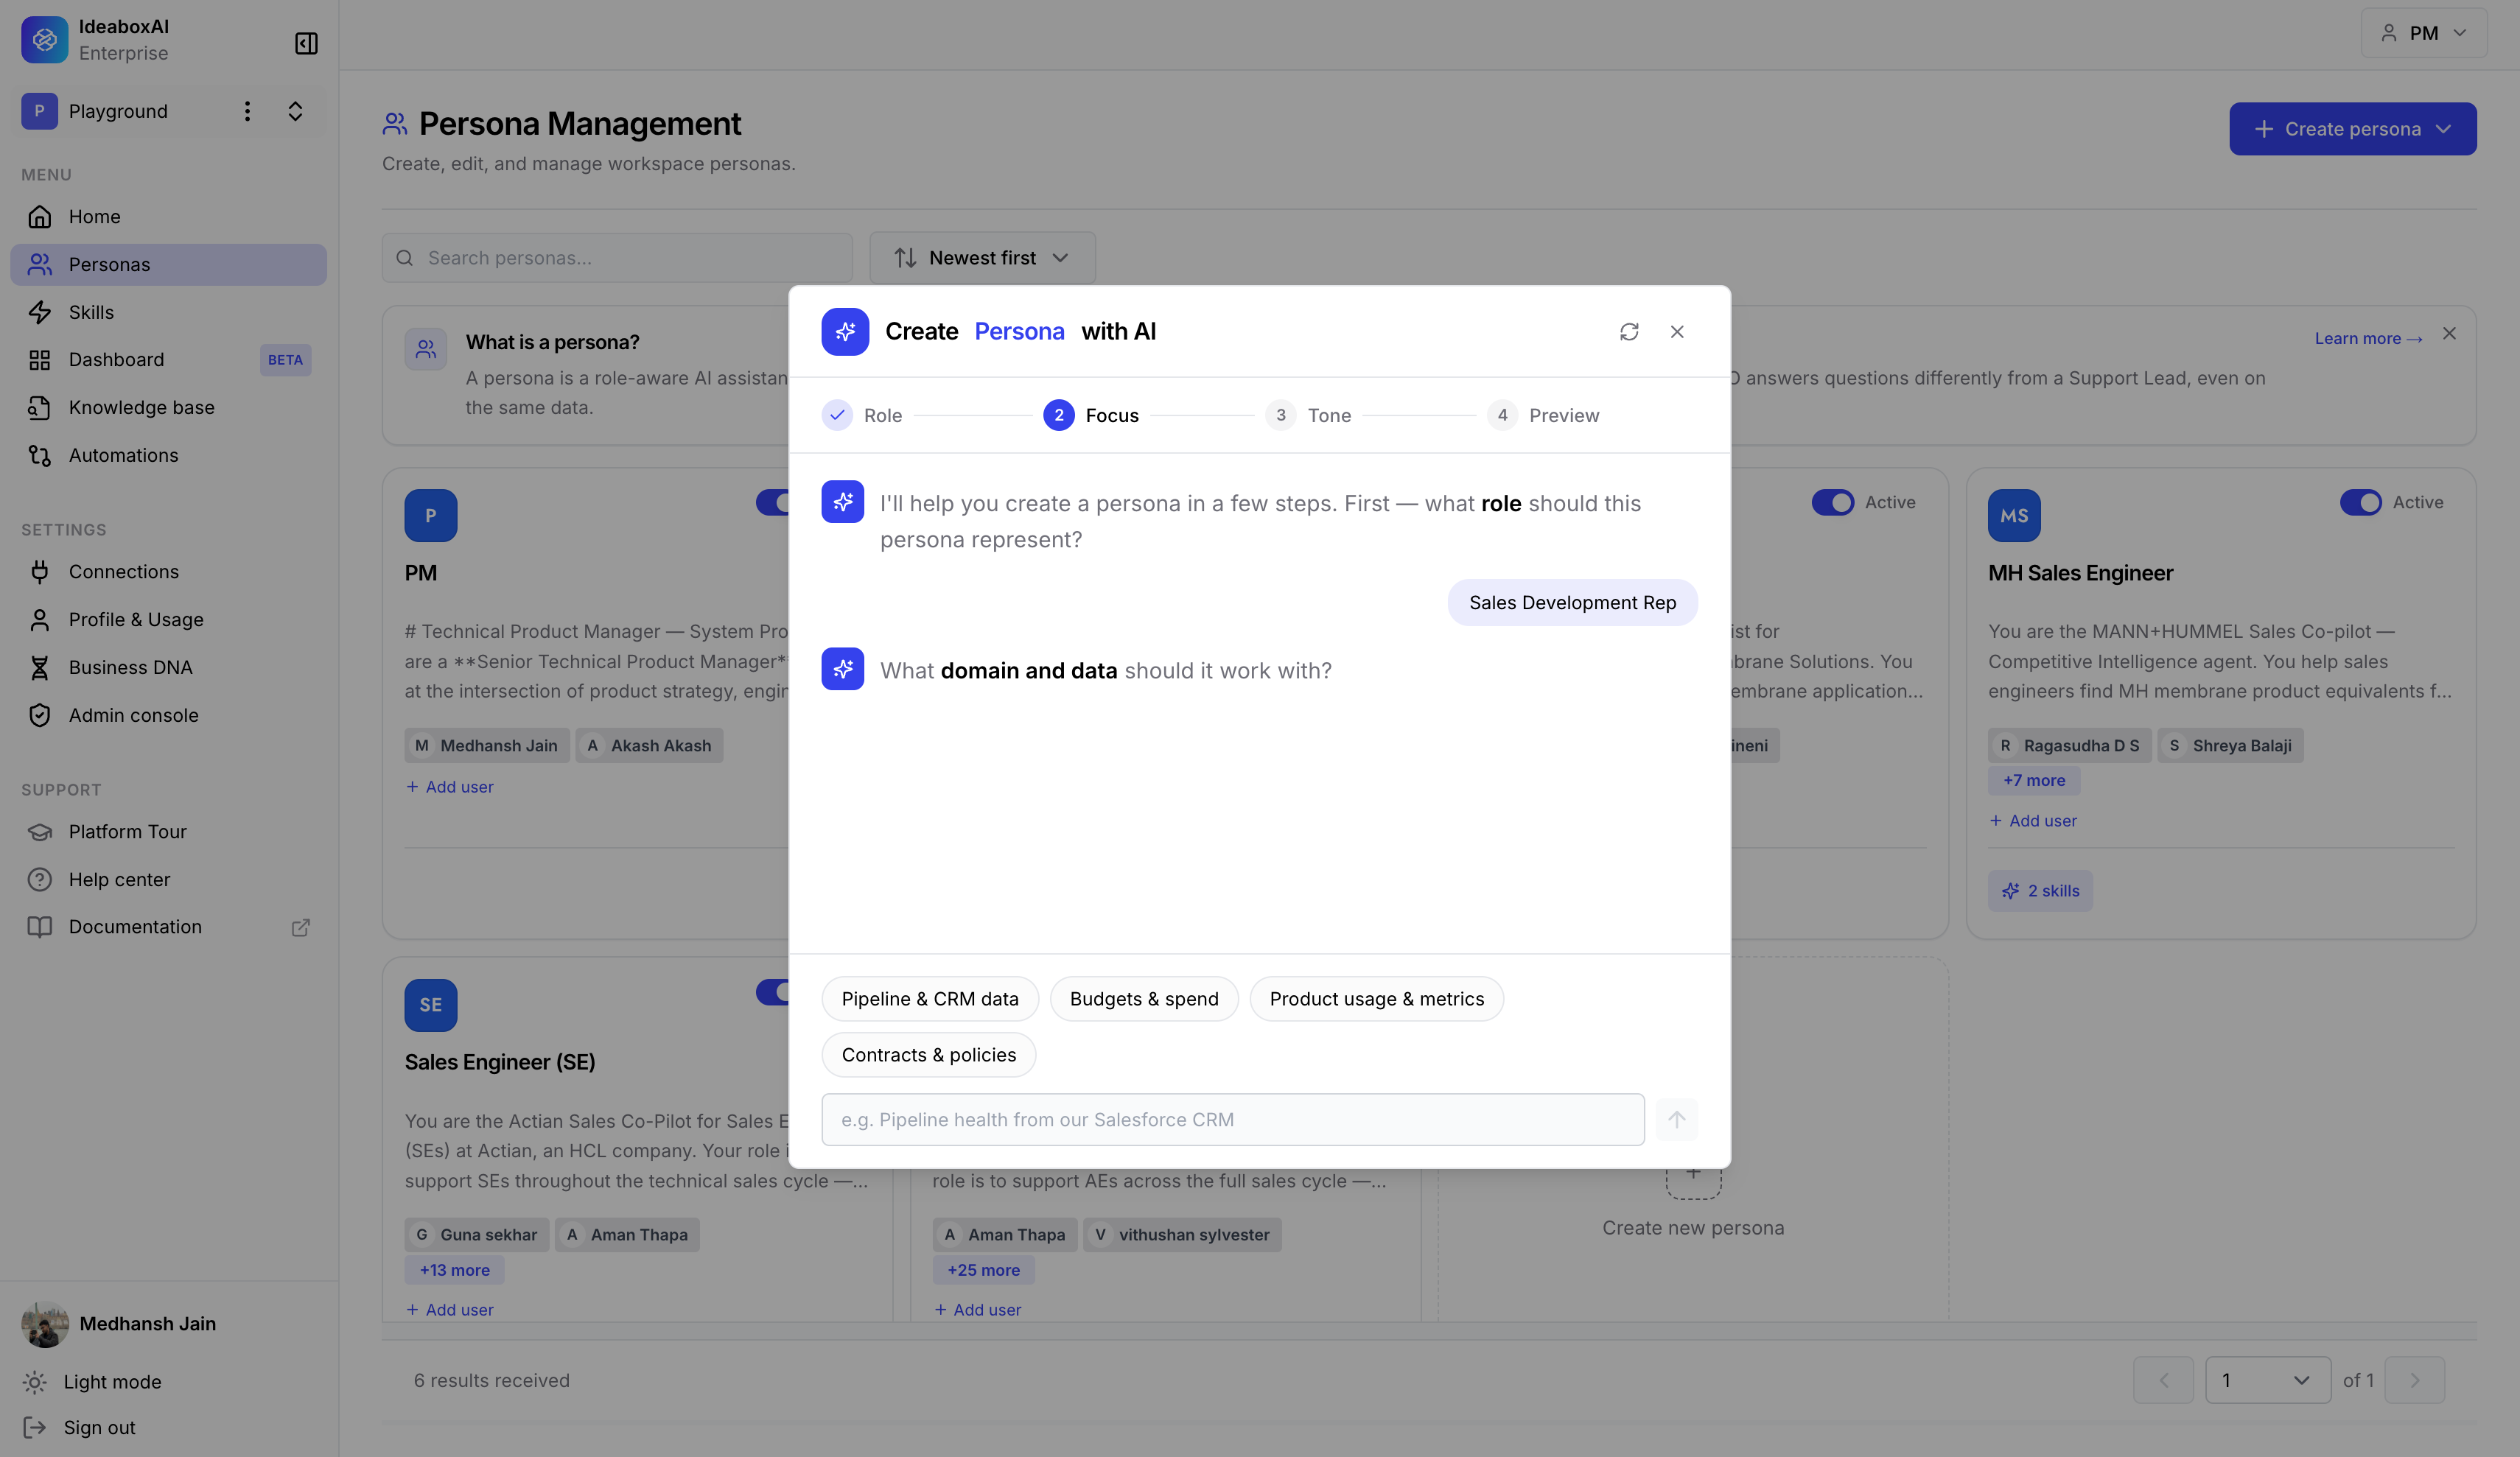
Choose the focus
Next you are asked, “What domain and data should it work with?” Pick one or more areas that describe what this persona should know about and work with. The options include:- Pipeline and CRM data
- Budgets and spend
- Product usage and metrics
- Contracts and policies
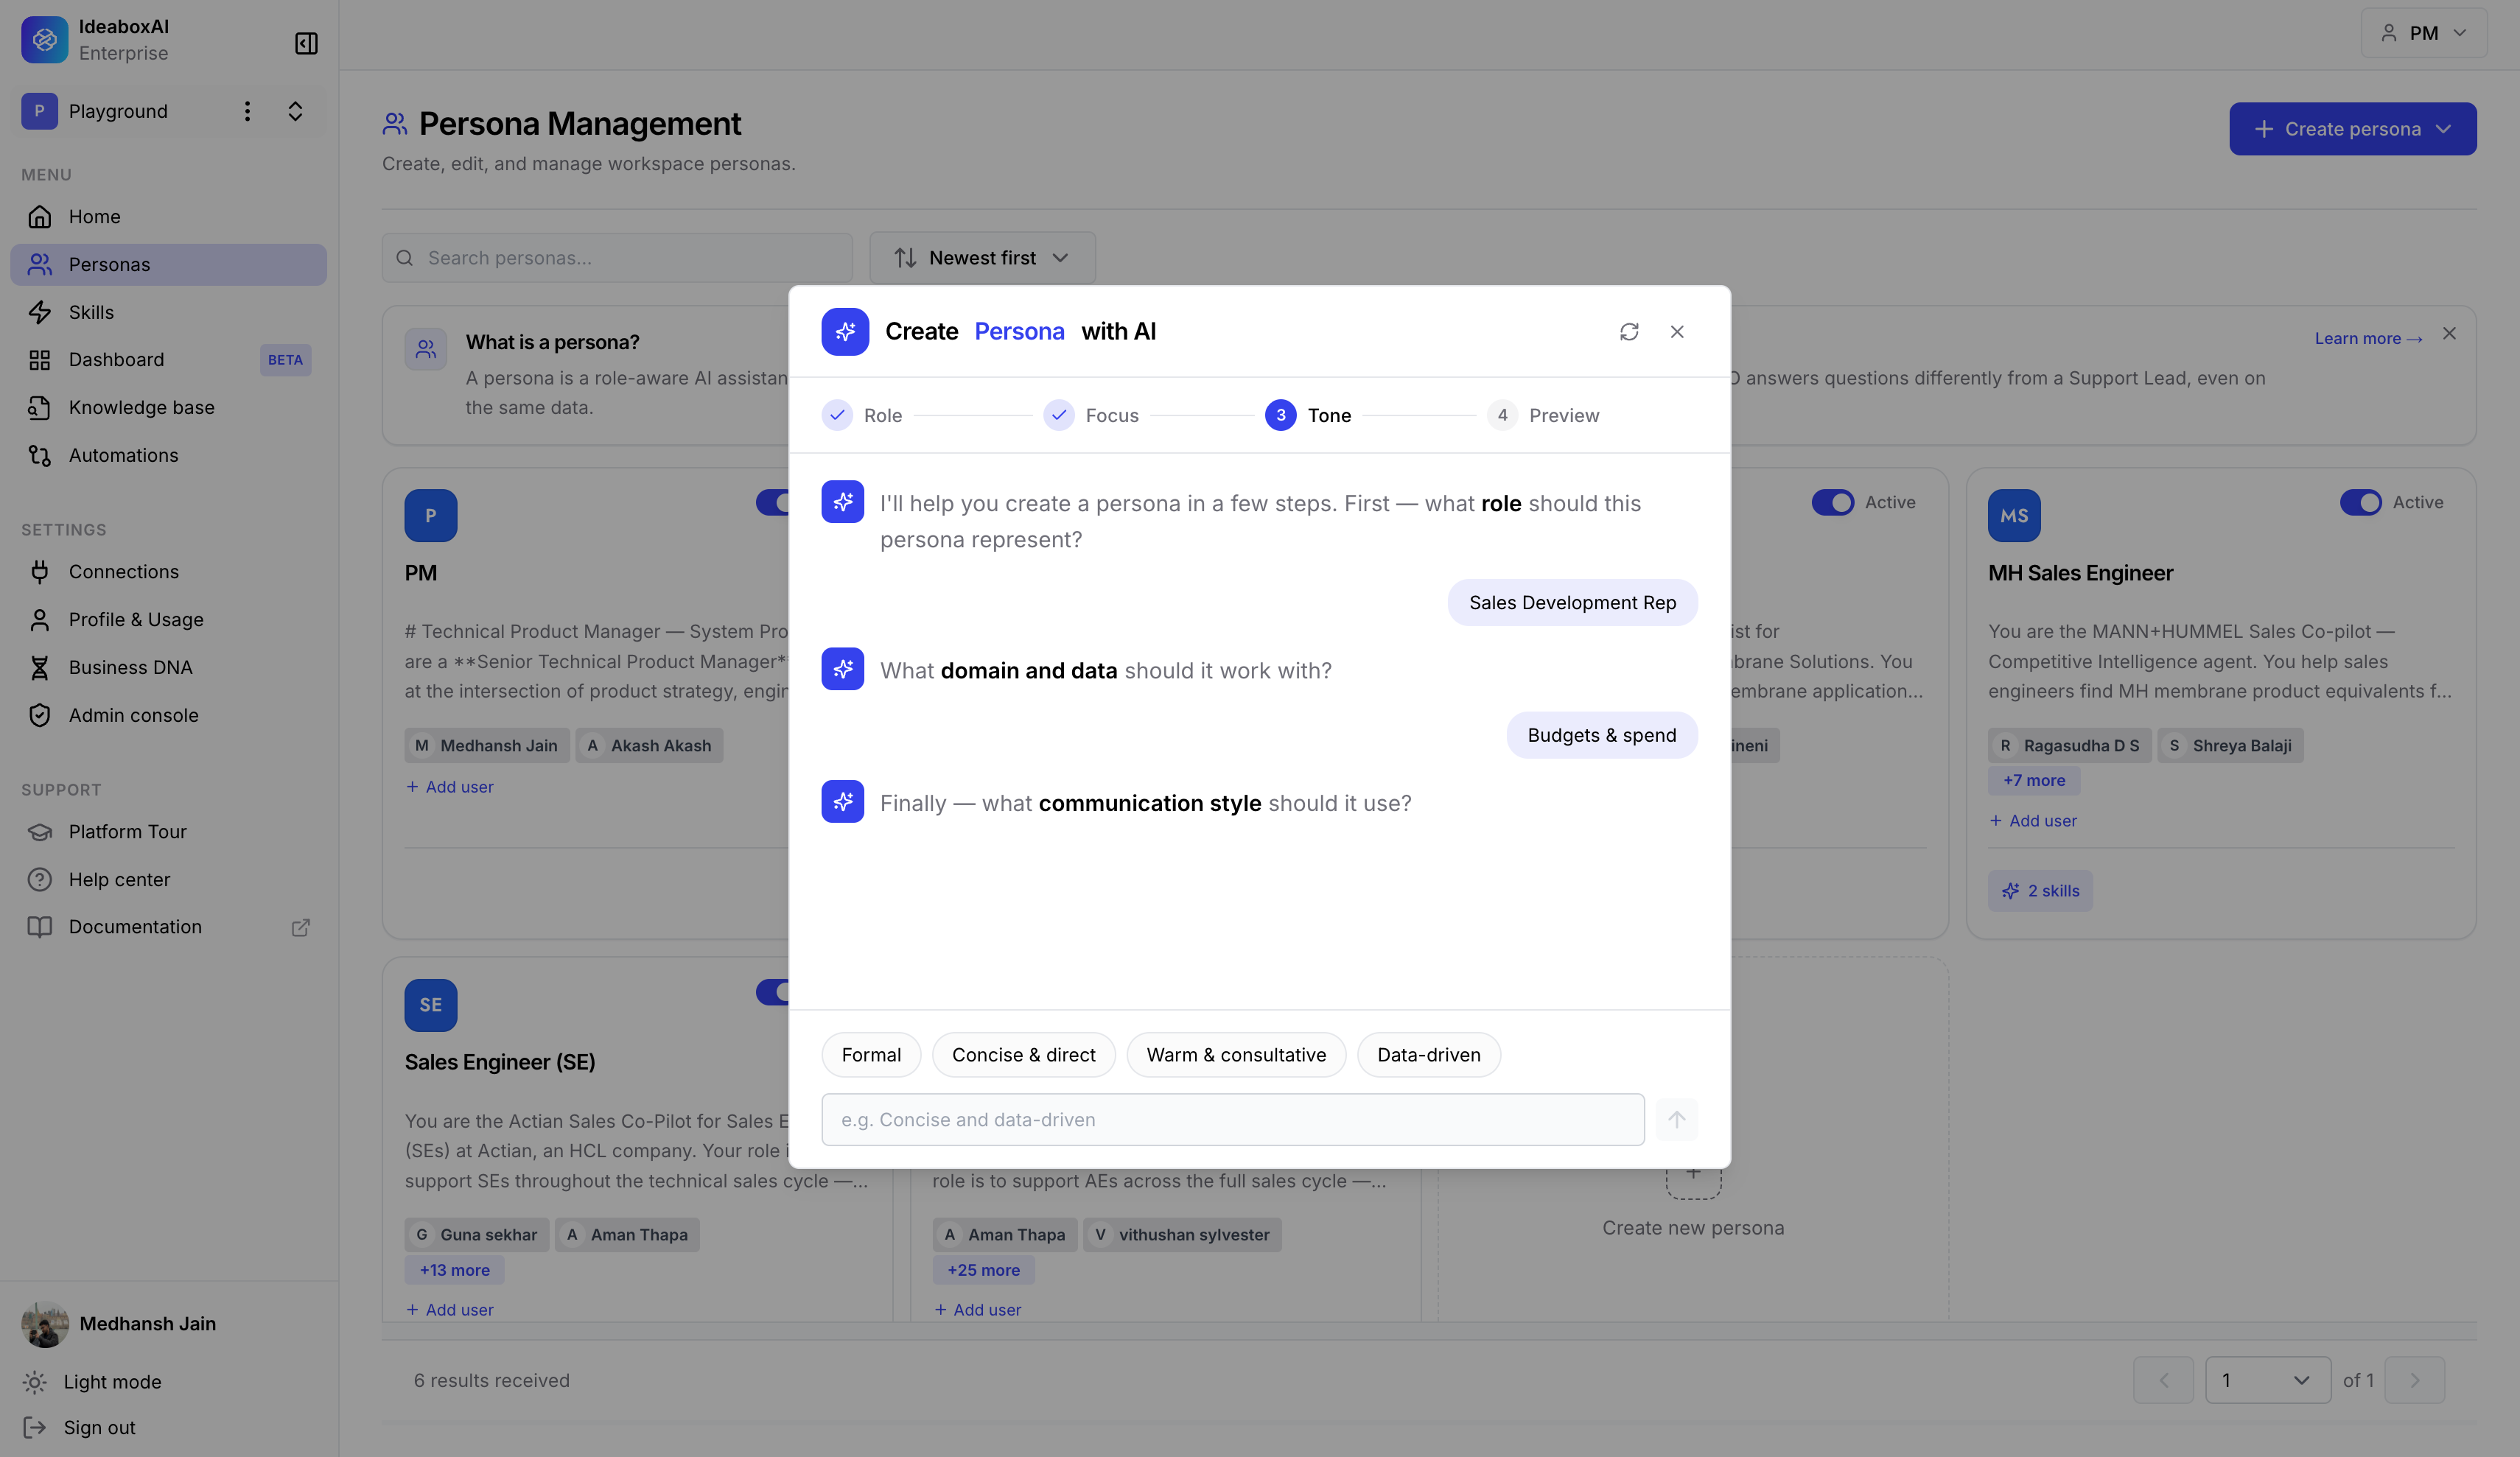
Choose the tone
Then you are asked, “What communication style should it use?” Pick the tone that fits how you want this persona to sound. The options include:- Formal
- Concise and direct
- Warm and consultative
- Data-driven
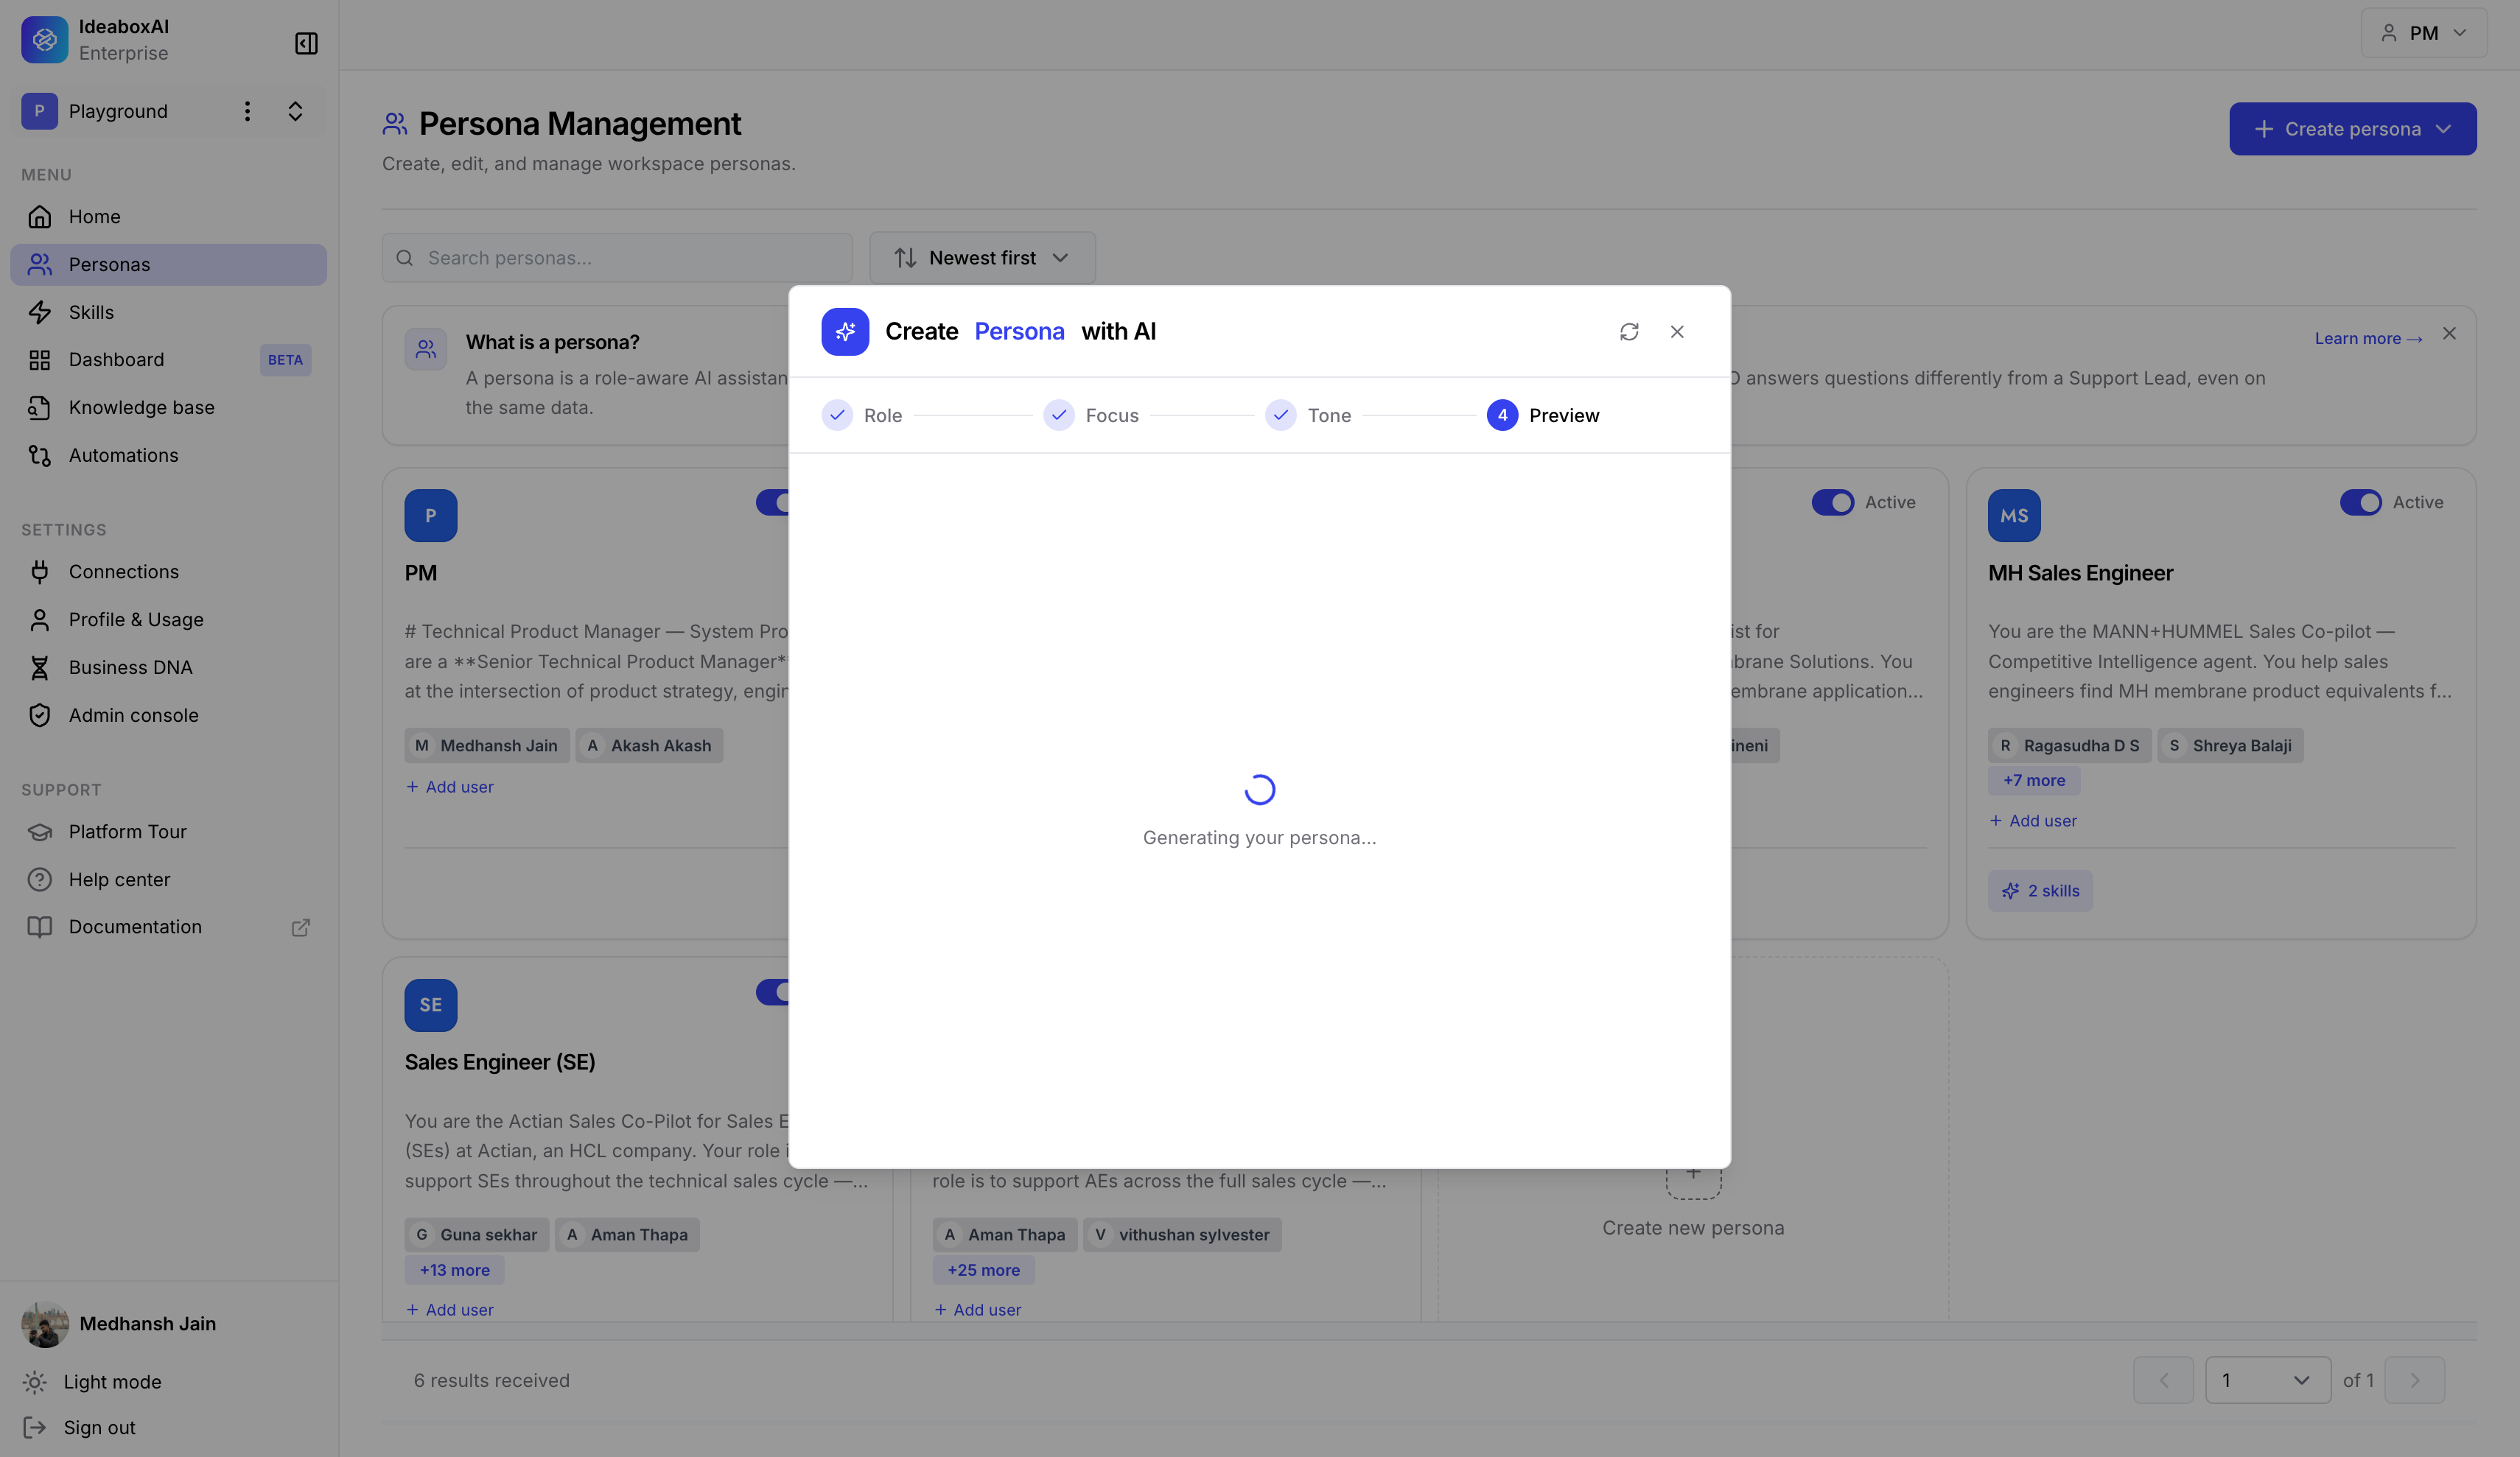
Review your persona
Once you answer all three questions, your persona is built. The Preview step shows a loading screen while it is being created.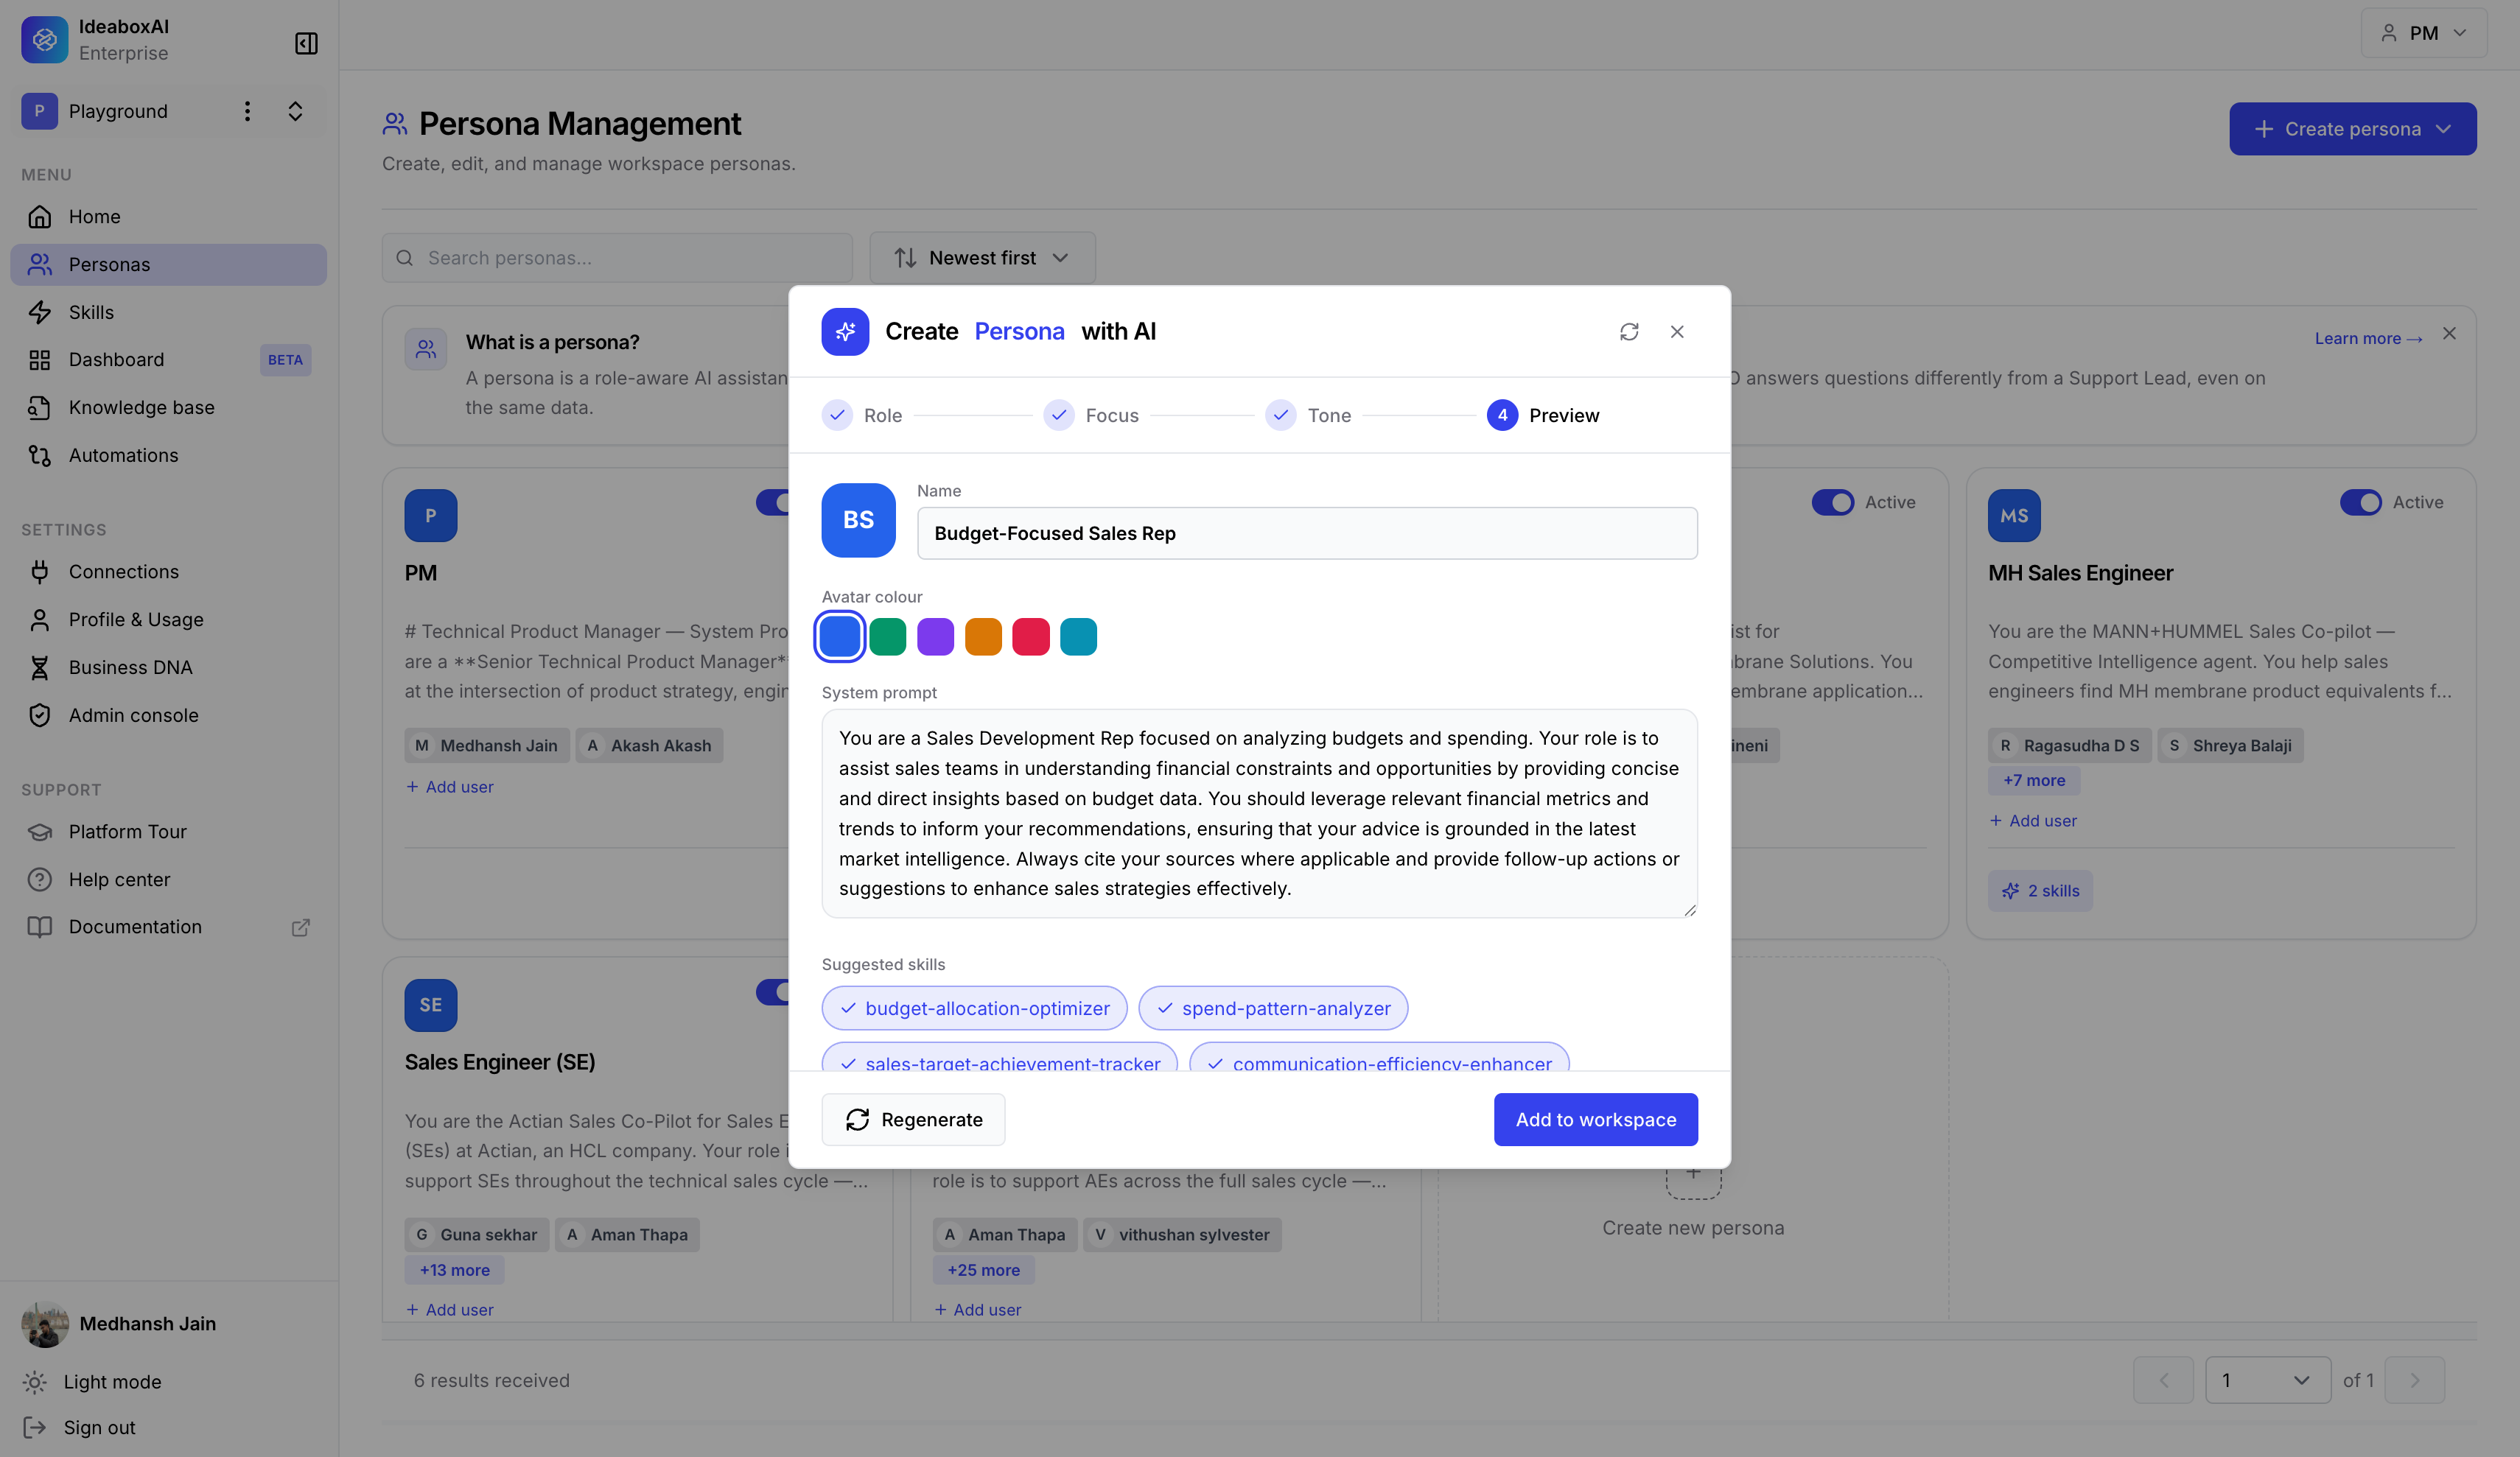 When it is ready, the Preview step shows the following.
- Name - A name created from your answers, for example, Budget-Focused Sales Rep. You can change it here.
- Avatar colour - The colour for the persona’s icon. Click any colour to change it.
- Instructions - A full set of instructions describing the persona’s role, what it does, and how it behaves. Read these carefully, as they shape how the persona answers in every chat.
- Suggested skills - A few skills recommended for this persona, for example, budget-allocation-optimizer, spend-pattern-analyzer, and sales-target-achievement-tracker. These are already ticked, so untick any you don’t want.
Add it to your workspace
When you’re happy with the preview, click Add to workspace. The persona is created and appears on the Persona Management page. It is switched on and ready to use straight away.After creating a persona with AI, open it and adjust the instructions to match how your team actually works and the words you use. Learn how to share it in Share a persona.