Create your account
To get started, navigate to the IdeaBoxAI login page. The registration screen gives you two ways to create an account: email and password or single sign-on.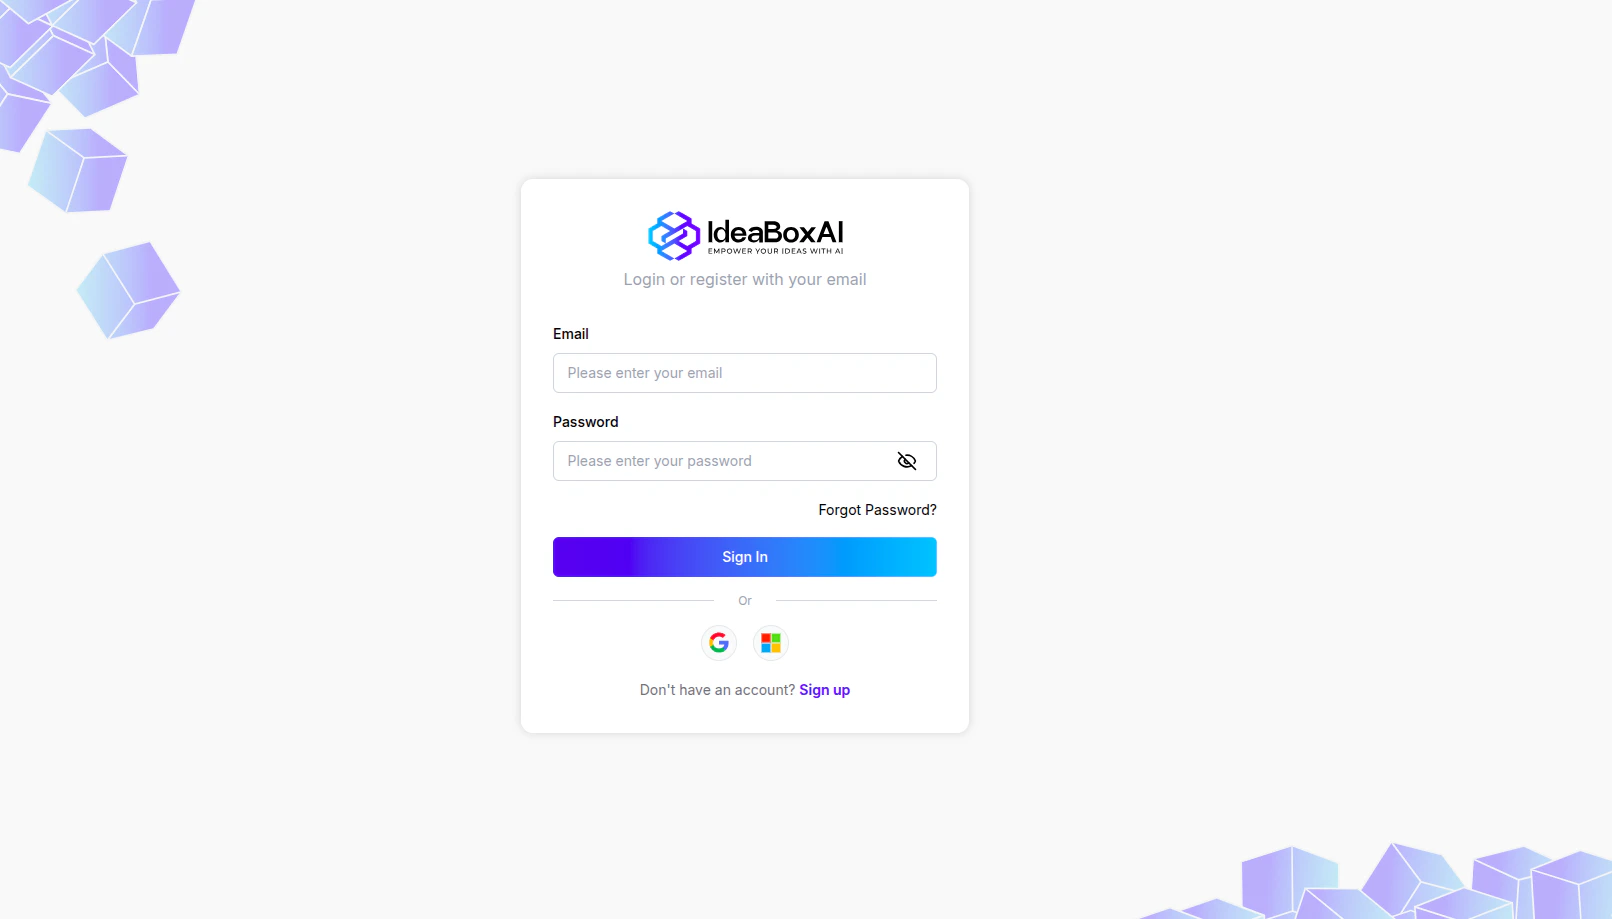
Register with email
Follow these steps to create an account using your email address.Open the registration page
Go to app.ideaboxai.com/auth/login and click the Sign up link at the bottom of the form. The Create your account page appears.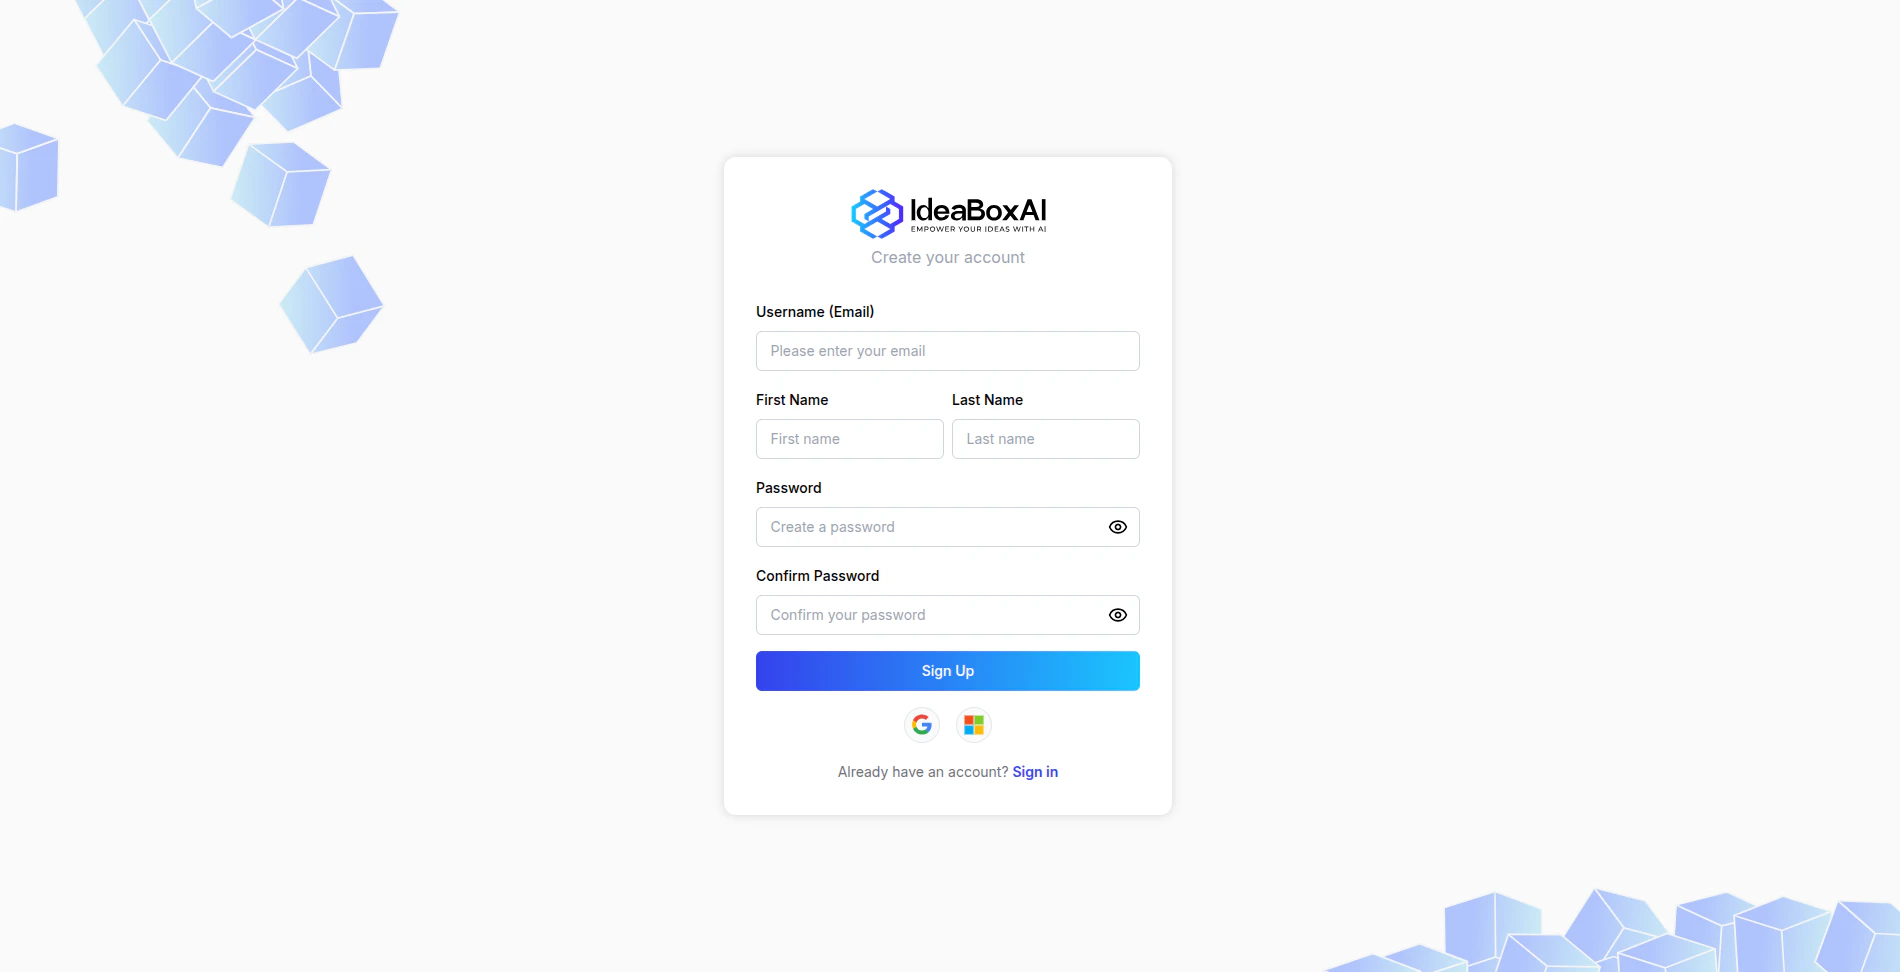
Enter your details
Fill in the following fields:
- Username (Email): Your email address.
- First Name and Last Name: Your full name.
- Password: Choose a password.
- Confirm Password: Re-enter your password.
Register with SSO
If your organisation uses Google or Microsoft, you can register with a single click. Click the Google or Microsoft icon below the sign-in button to authenticate with your existing account. No separate password is required.Sign in to an existing account
If you already have an account, enter your email and password on the login page and click Sign In. You can also sign in using Google or Microsoft SSO by clicking the relevant icon below the sign-in button. If you forget your password, click Forgot Password? to receive a reset link by email.Onboarding wizard
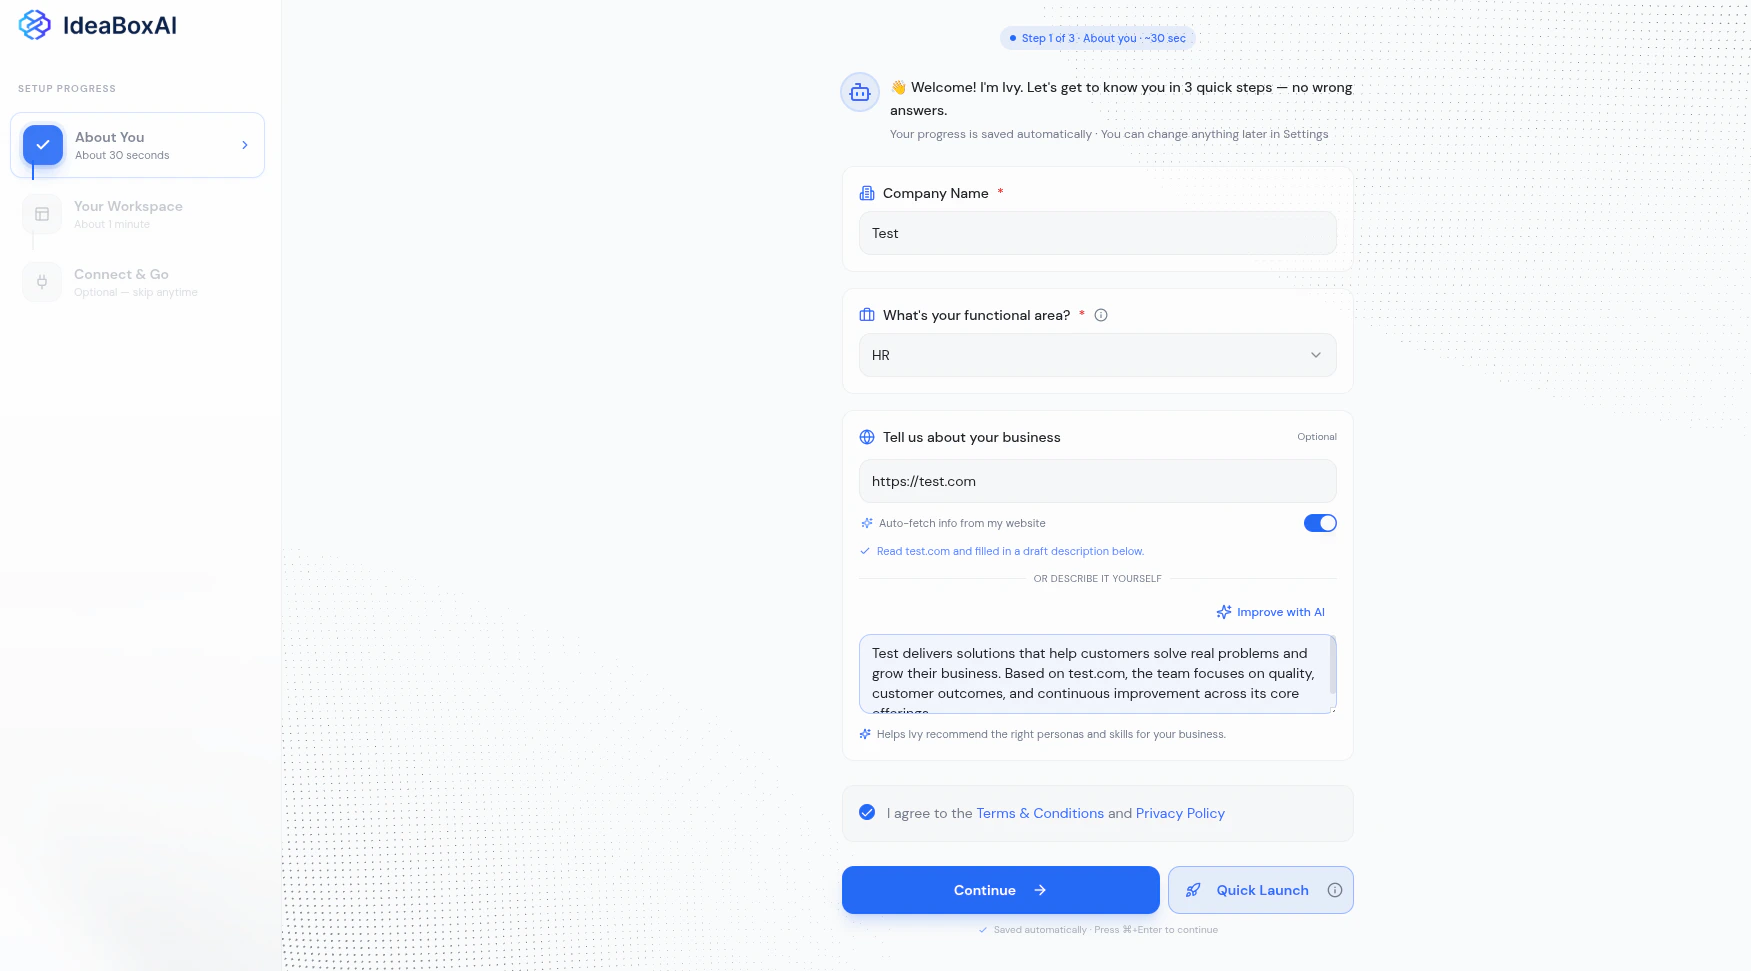
After signing in for the first time, IdeaBoxAI walks you through a three-step setup wizard. The left sidebar tracks your progress across each step.Step 1: About You
This step takes about 30 seconds. IdeaBoxAI collects basic information about you and your business to tailor the workspace experience.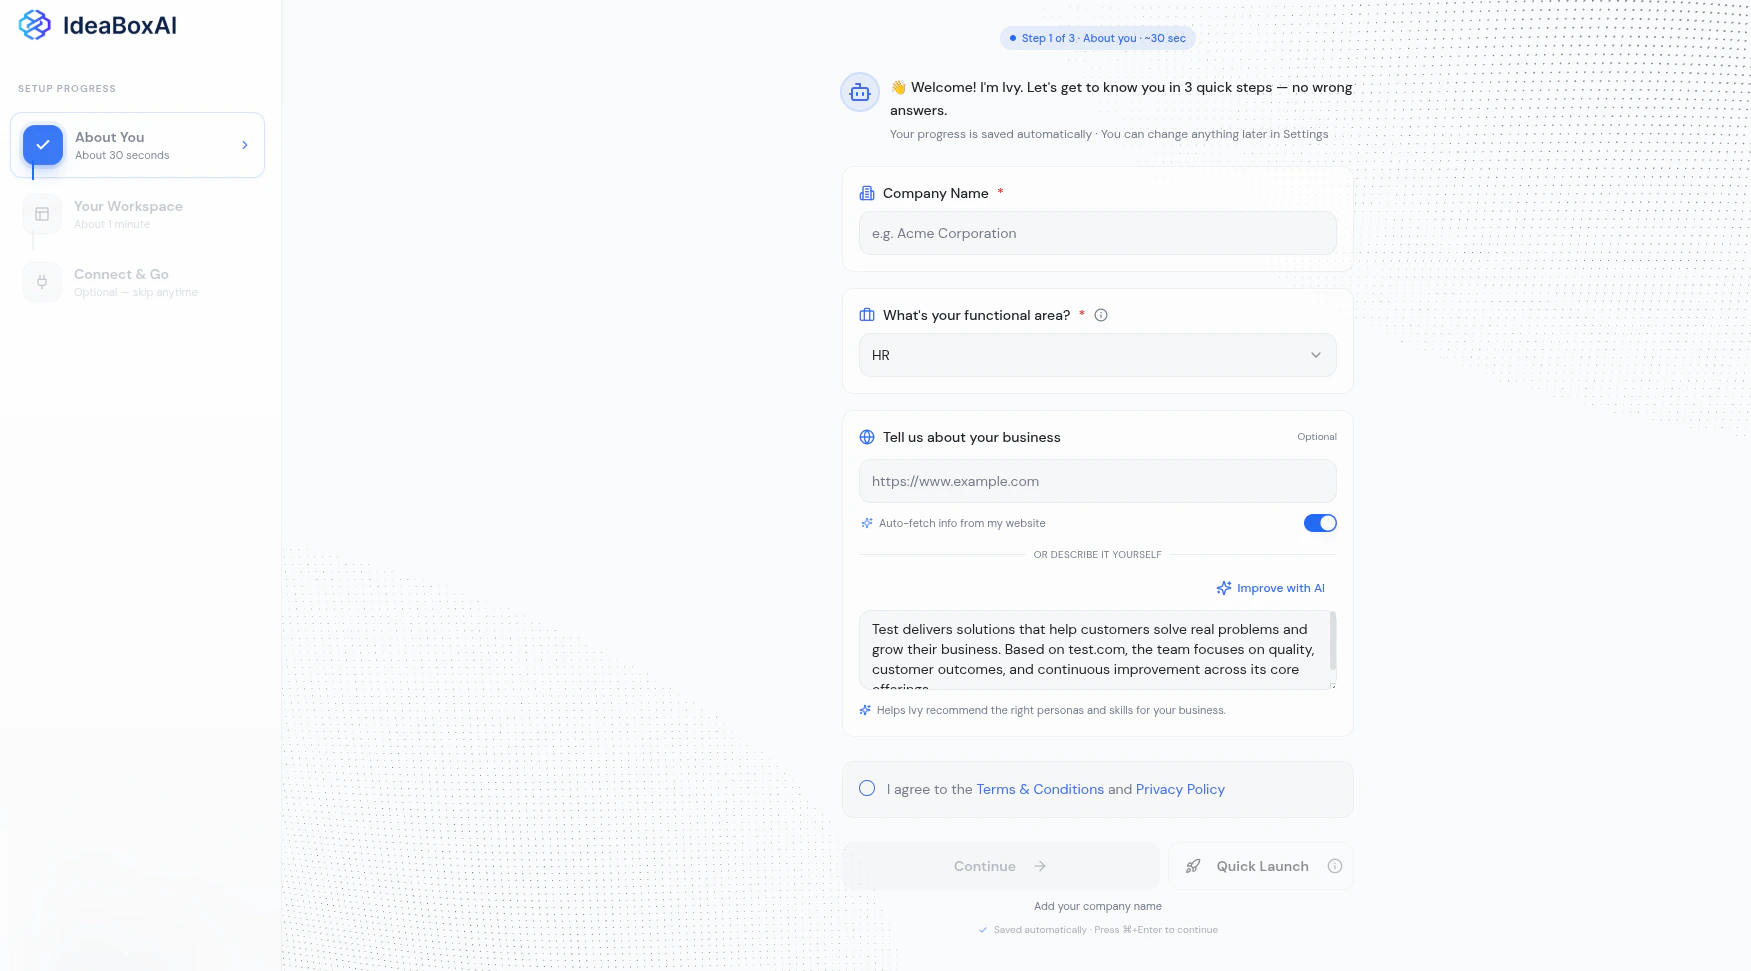
- Company Name: Your organisation’s name.
- Functional area: Select the department or function you work in (e.g., HR, Sales, Operations). This determines which personas and skills IdeaBoxAI recommends.
- Website URL: Enter your company website. IdeaBoxAI uses this to auto-generate a business context summary.
Step 2: Your Workspace
This step takes about 1 minute. IdeaBoxAI presents your AI Business Context and recommends personas based on the functional area you selected.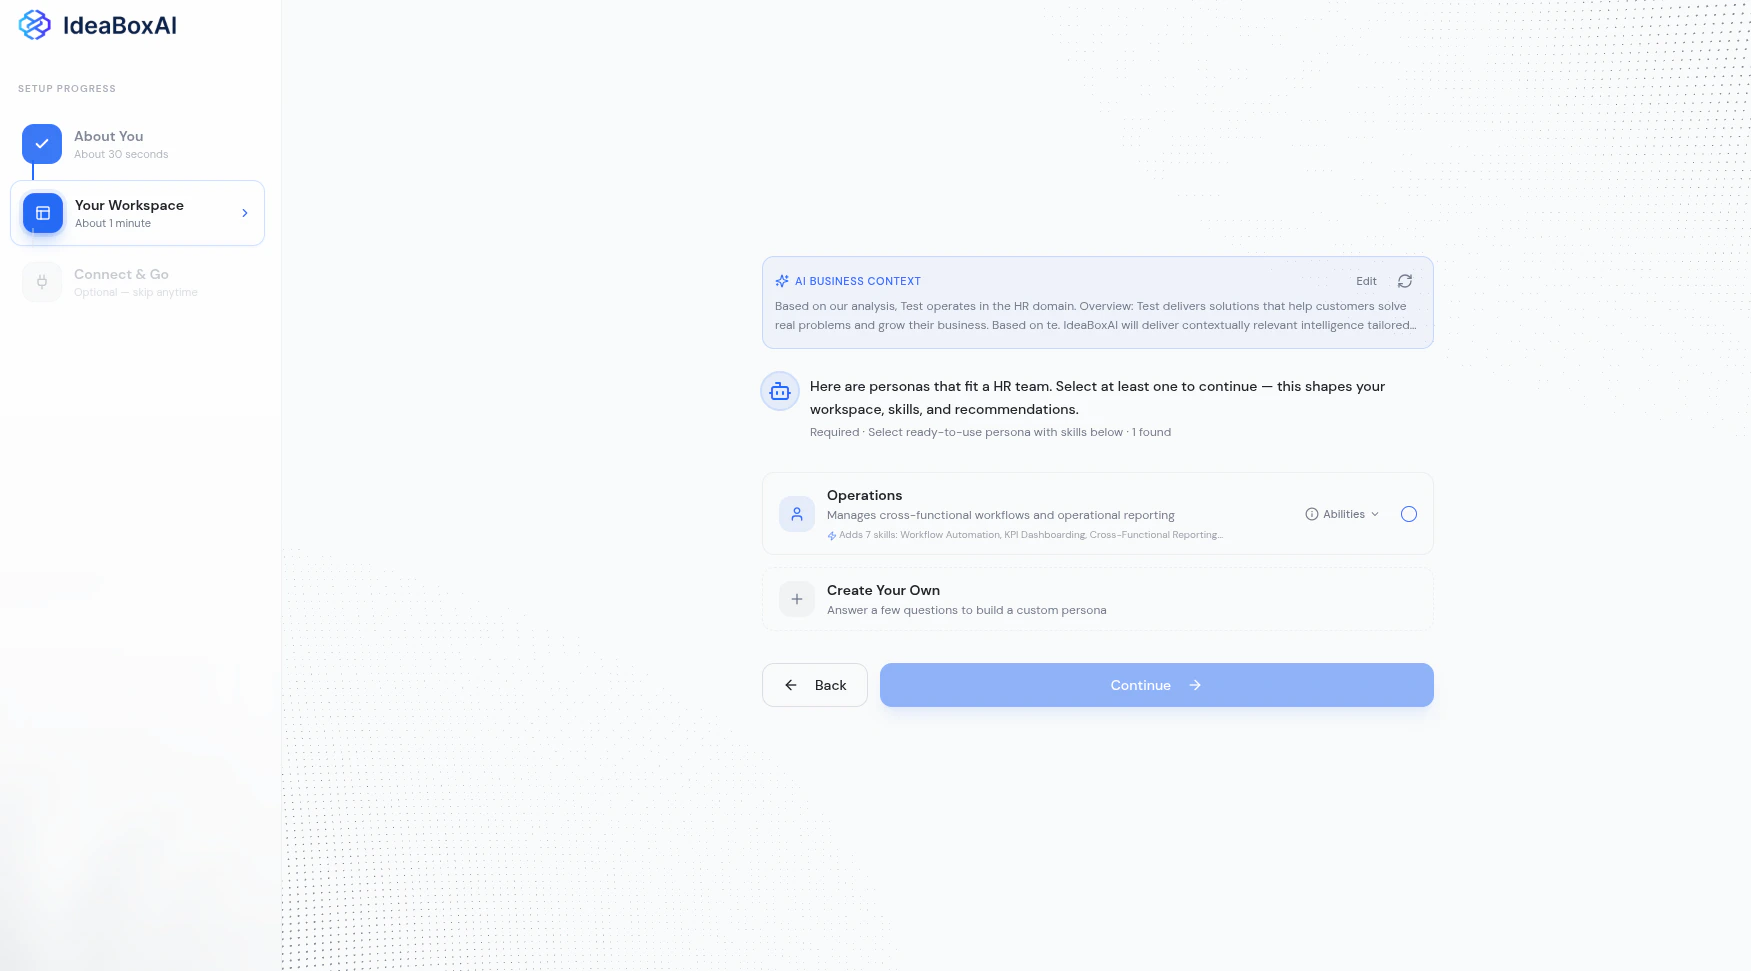
- Select a persona by clicking the radio button next to it. You must select at least one to continue.
- View abilities by expanding the Abilities dropdown on any persona to see the skills it includes.
- Create Your Own if none of the suggestions fit. Click this option to build a custom persona by answering a few questions.
Step 3: Connect & Go
This final step lets you choose how to populate your workspace with data.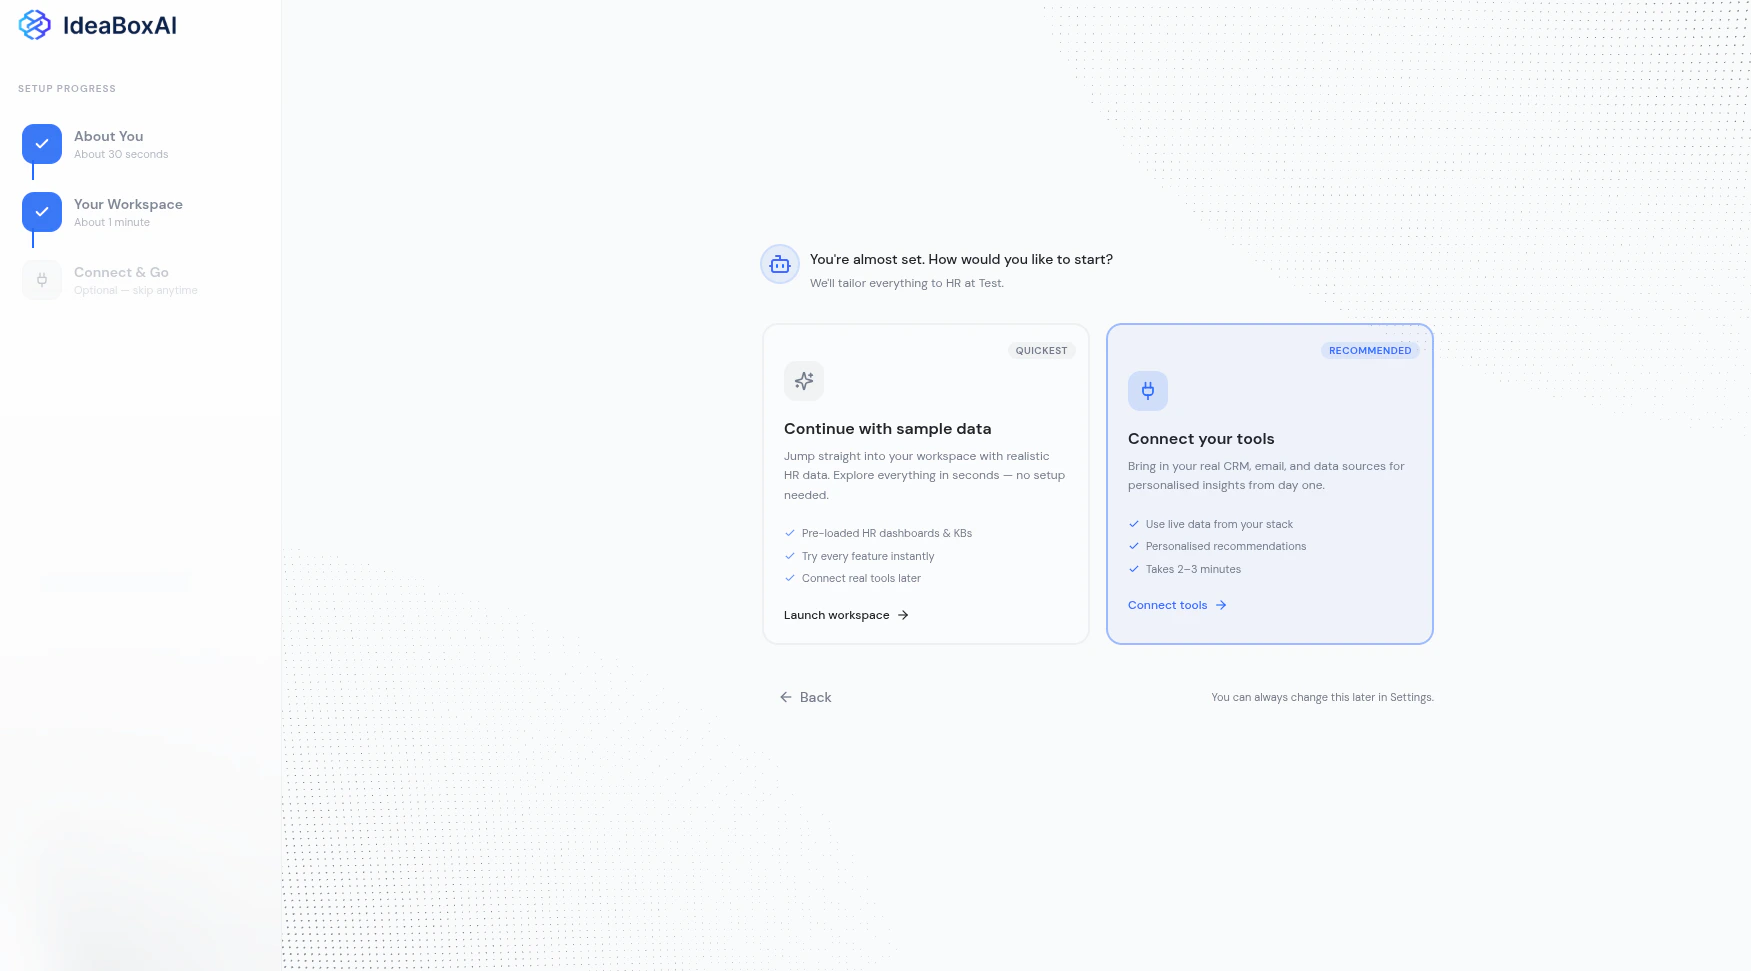
- Pre-loaded dashboards and knowledge bases
- Try every feature instantly
- Connect real tools later
- Use live data from your stack
- Personalised recommendations
- Takes 2-3 minutes
Connecting your tools
If you choose Connect your tools, IdeaBoxAI shows a tool selection screen with categories recommended for your functional area.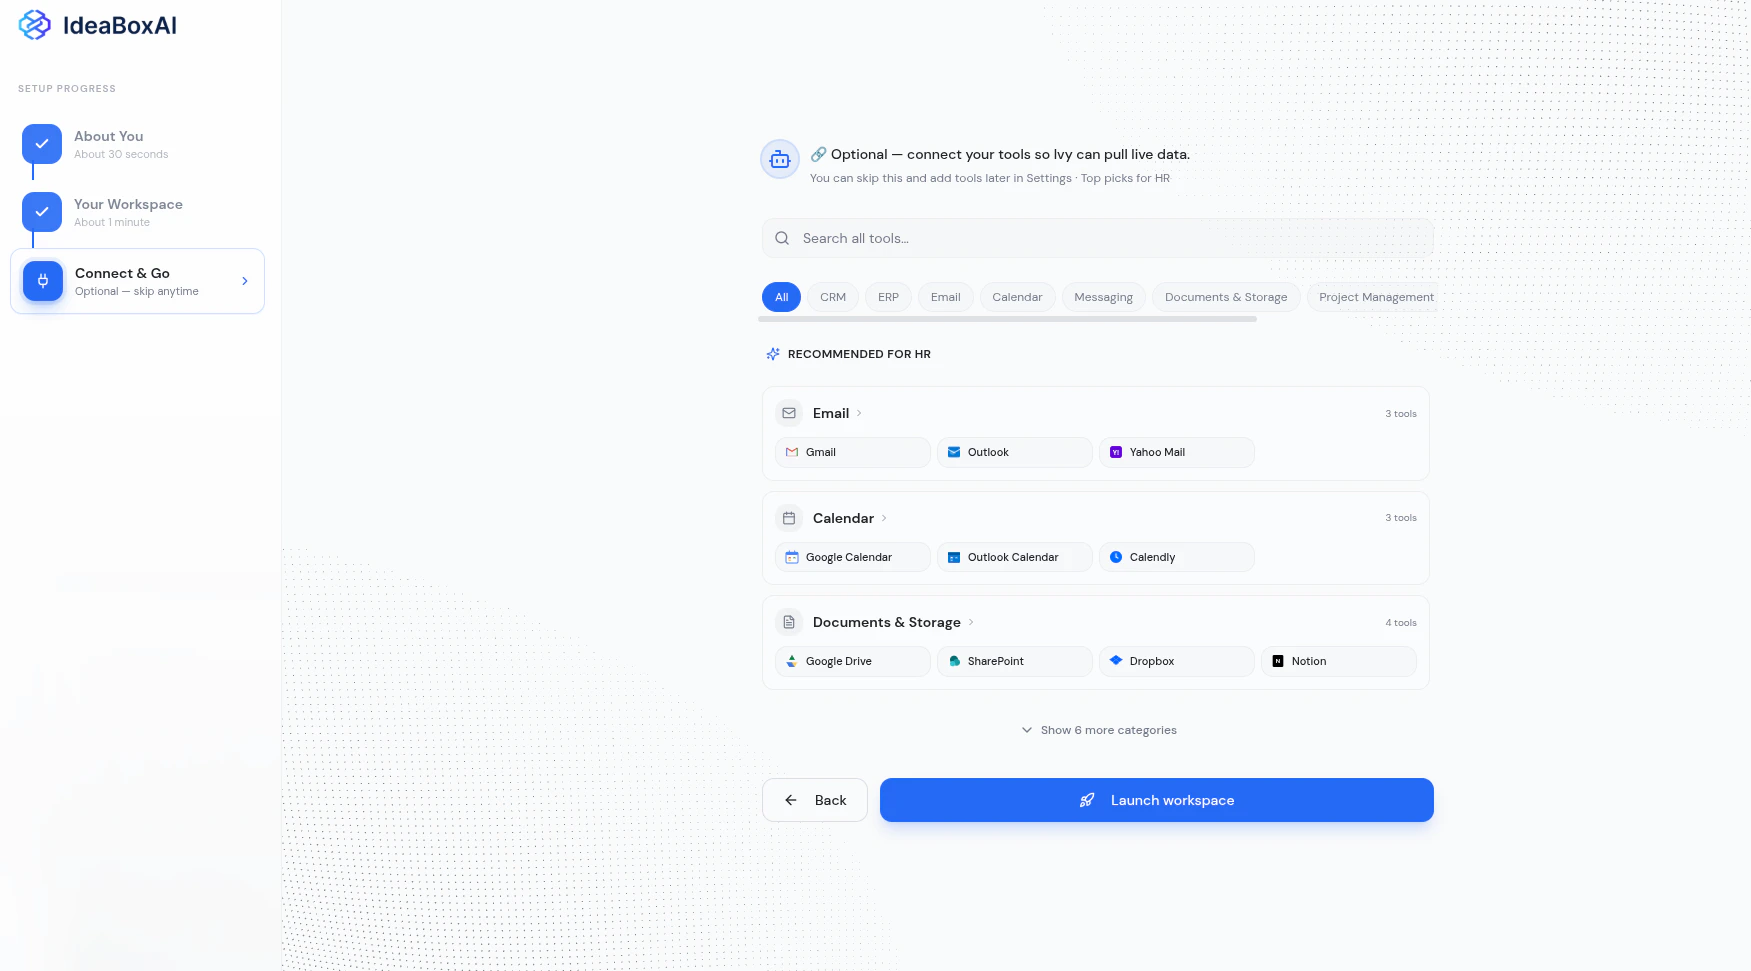
- Search for a specific tool using the search bar at the top.
- Filter by category by selecting from the available category tabs. The categories shown vary based on your functional area and role.
- Recommended tools appear at the top, tailored to your functional area (e.g., Gmail, Google Calendar, and Google Drive for an HR team).
- Click Show more categories to see additional tool categories.
Your workspace
After completing the onboarding wizard, you land in your IdeaBoxAI workspace. A guided tutorial walks you through the key features in 6 steps.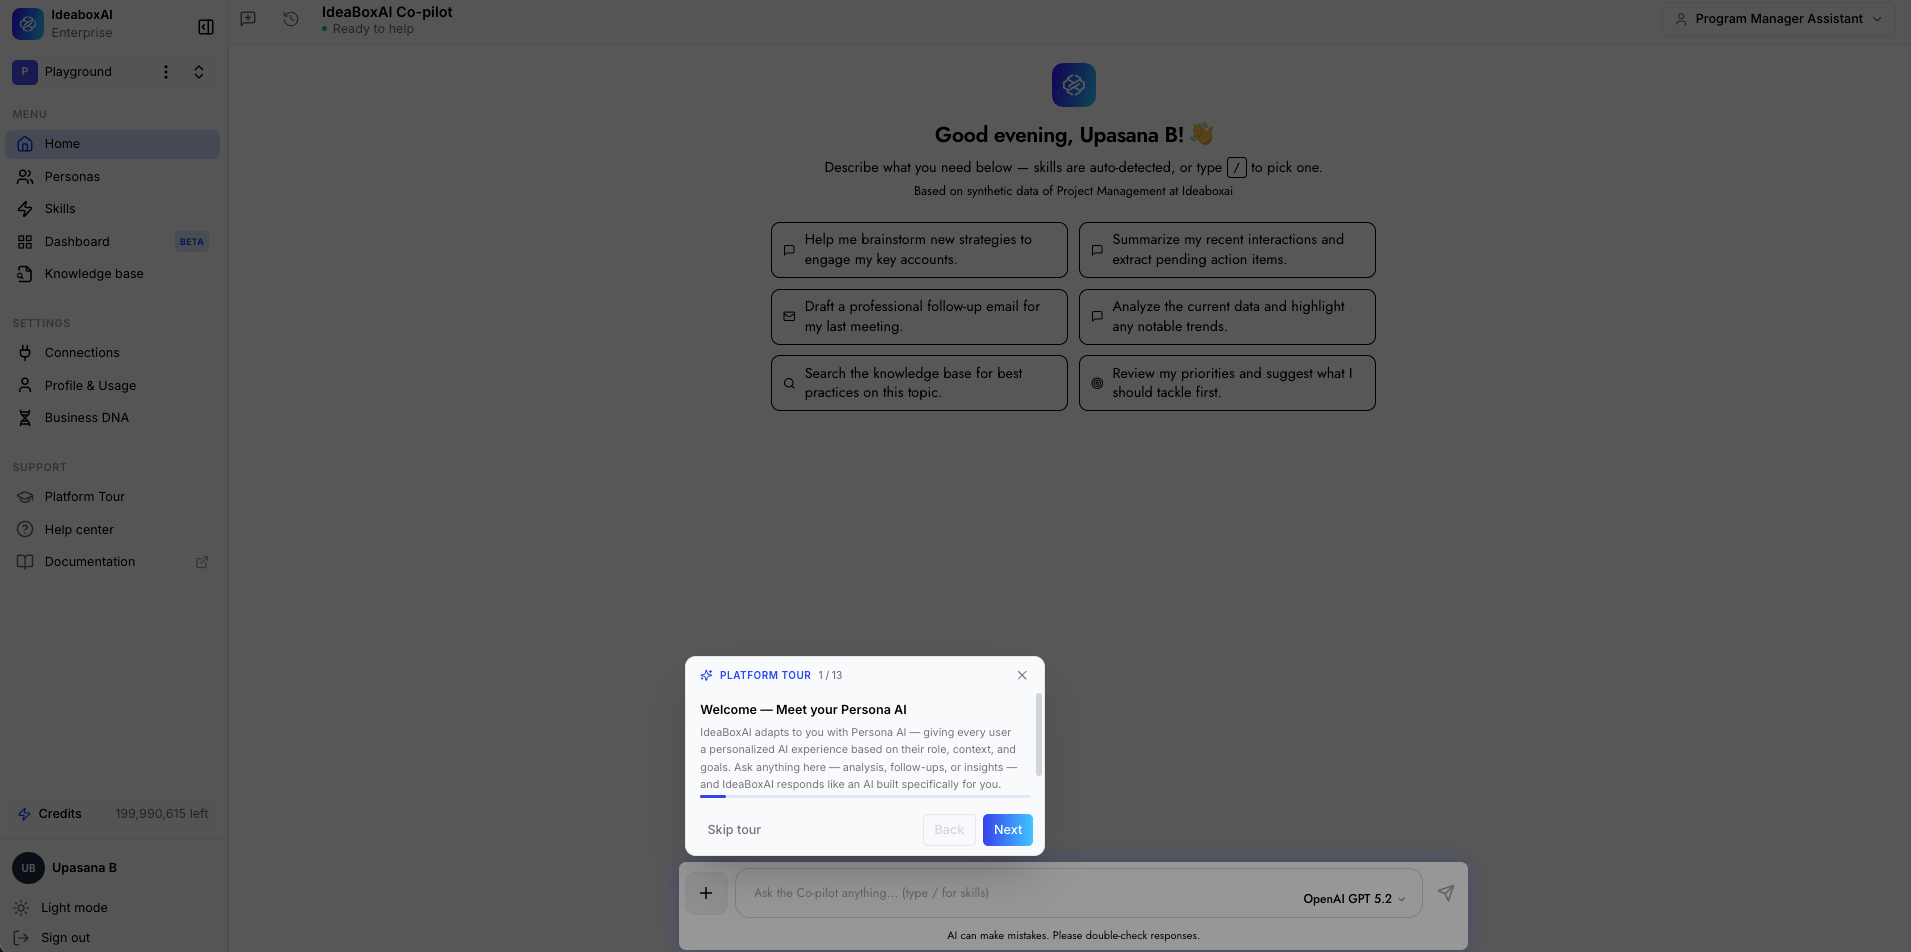
- Co-pilot chat: Ask anything using natural language. Skills are auto-detected, or type
/to pick one. - Skill suggestion cards: Quick-action cards based on your persona and functional area.
- Sidebar navigation: Access the Assistant, Dashboards, Personas, Skill Studio, Knowledge Bases, Connections, and Profile pages.
Next steps
Platform overview
Explore the seven core capabilities that power IdeaBoxAI.
Persona AI introduction
Learn how the Persona AI delivers role-specific intelligence for your team.