Automations
Build visual workflows to automate complex business processes with drag-and-drop nodes
Introduction
Automations in IdeaboxAI enable you to create powerful workflows that connect AI agents, data sources, and external services. Using a visual canvas interface, you can design complex automation pipelines without writing code—simply drag, drop, and connect nodes to build your workflow.
Getting started
Access the automations workspace
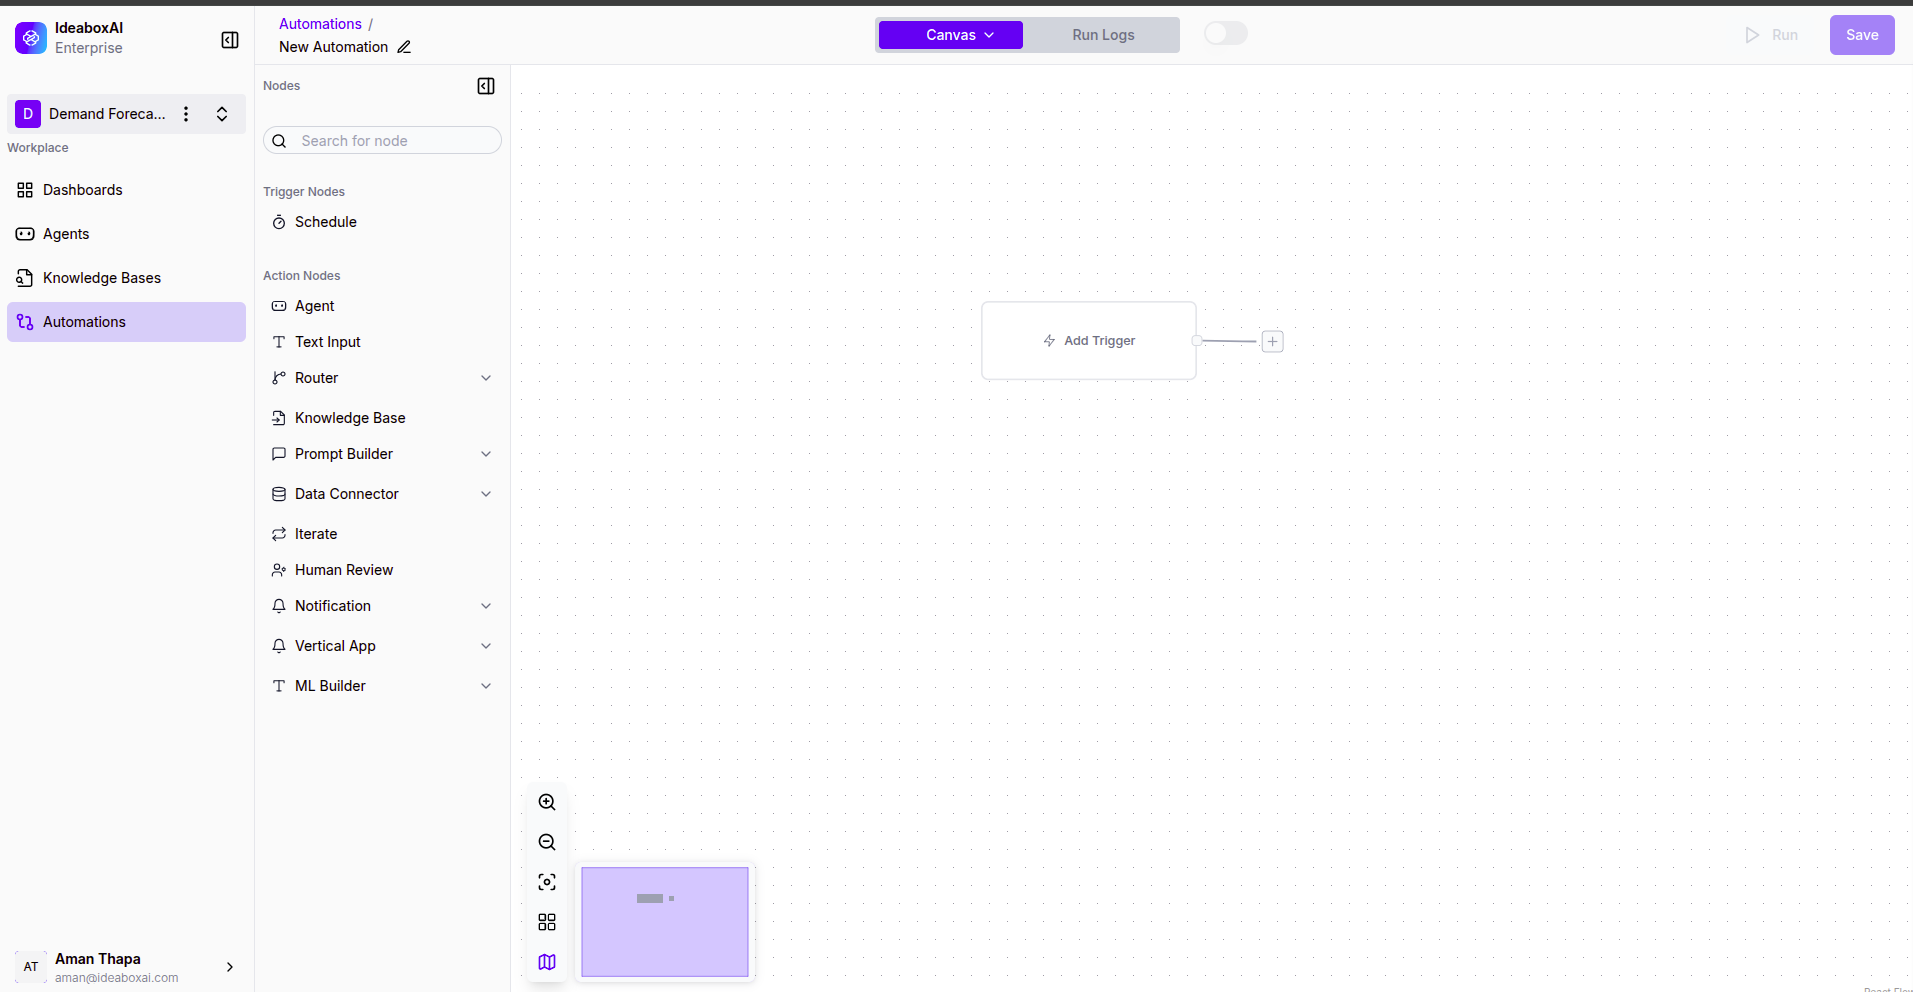
Navigate to Automations in the sidebar to view your workspace's automation dashboard. The interface consists of:
- Canvas - The central workspace where you design workflows by connecting nodes
- Nodes Panel - A sidebar listing all available trigger and action nodes
- Run Logs - View execution history and debug your workflows
- Toolbar - Share, run, and save your automations
Create a new automation
Click + Create Automation to start building a new workflow. Give your automation a descriptive name that reflects its purpose.
💡 Tip: Use clear naming conventions like "Daily Sales Report" or "Customer Onboarding Flow" to help your team quickly identify each automation's purpose.
Working with nodes
Trigger nodes
Trigger nodes define when your automation runs. Available triggers include:
- Schedule - Run automations at specific intervals (hourly, daily, weekly, monthly, or custom cron expressions)
Action nodes
Action nodes perform tasks within your workflow. IdeaboxAI provides a comprehensive set of action nodes:
| Node | Description |
|---|---|
| Agent | Execute an AI agent to process data or generate content |
| Text Input | Provide static or dynamic text values to subsequent nodes |
| Router | Create conditional branches based on data values |
| Knowledge Base | Query your knowledge bases for information |
| Prompt Builder | Construct dynamic prompts for AI agents |
| Data Connector | Connect to external data sources |
| Iterate | Loop through arrays or collections of data |
| Human Review | Pause workflow for manual approval or input |
| Notification | Send alerts via email, Slack, or other channels |
| Vertical App | Integrate with vertical-specific applications |
| ML Builder | Run custom machine learning models |
Building workflows
Connect nodes on the canvas
To build a workflow:
- Drag a trigger node from the Nodes panel onto the canvas
- Drag action nodes to define the workflow steps
- Connect nodes by clicking and dragging from the output port of one node to the input port of another
- Configure each node's settings by clicking on it
Configure node settings
Click on any node to open its configuration panel. Each node type has specific settings:
- Schedule nodes - Set the frequency (Every Month, Every Week, Every Day, etc.)
- Agent nodes - Select which agent to execute and configure input parameters
- Router nodes - Define conditions and routing logic
- Notification nodes - Configure recipients and message templates
⚠️ Warning: Test your automation with sample data before deploying to production. Use the Run button to execute a test run and verify the workflow behaves as expected.
Data flow between nodes
Nodes pass data to each other through connections. Each node receives input from its predecessor and passes its output to the next node:
- Input - Data received from the previous node (labeled "Trigger" on the input port)
- Output - Results passed to connected nodes
You can reference data from previous nodes using variables in your node configurations.
Running automations
Manual execution
Click the Run button in the toolbar to manually trigger your automation. This is useful for:
- Testing new workflows
- Running one-time tasks
- Debugging issues
Scheduled execution
For scheduled triggers, your automation runs automatically based on the configured interval. The automation continues to run as long as it's enabled (toggle switch in the toolbar).
View run logs
Click the Run Logs tab to view execution history. Each log entry shows:
- Execution timestamp
- Status (success, failed, running)
- Duration
- Input and output data for each node
- Error messages (if any)
💡 Tip: Review run logs regularly to identify failed executions and optimize workflow performance.
Sharing and collaboration
Share automations
Click the Share button to collaborate with team members:
- Set visibility to workspace-wide or specific users
- Grant view or edit permissions
- Copy a shareable link for quick access
Version control
IdeaboxAI automatically saves your automation as you make changes. Click Save to ensure all modifications are persisted.
⚠️ Warning: Before making significant changes to production automations, consider duplicating the workflow first to preserve the working version.
Best practices
- Start simple - Begin with basic workflows and add complexity incrementally
- Use descriptive names - Name your automations and nodes clearly for easy identification
- Test thoroughly - Always test with sample data before enabling scheduled execution
- Monitor regularly - Check run logs periodically to catch and fix failures early
- Document your workflows - Add descriptions to complex automations for team reference
Next steps
- Agents — Learn how to create AI agents to power your automations
- Knowledge Bases — Connect knowledge bases as data sources in your workflows