Knowledge base types
IdeaBoxAI supports three knowledge base types. Each type is optimised for a different data format and query pattern.| KB type | Best for | Supported sources |
|---|---|---|
| Unstructured data | Documents, PDFs, and text. Optimised for semantic search and AI reasoning. | Device upload, Google Drive, Confluence, Markdown and text. |
| Structured data | Relational databases and spreadsheets. Supports SQL queries, cubes, analytics, and dashboards. | MySQL, PostgreSQL, Snowflake, ClickHouse, SQL Server, Actian, Zen, Zoho Book Analytics, CSV, and Excel. |
Set up an unstructured data knowledge base
Use this type for documents, playbooks, runbooks, and any content intended for semantic search.Navigate to knowledge bases
In the IdeaBoxAI sidebar, click Knowledge Bases. The dashboard shows all existing knowledge bases with name, status, type, creator, and last modified date.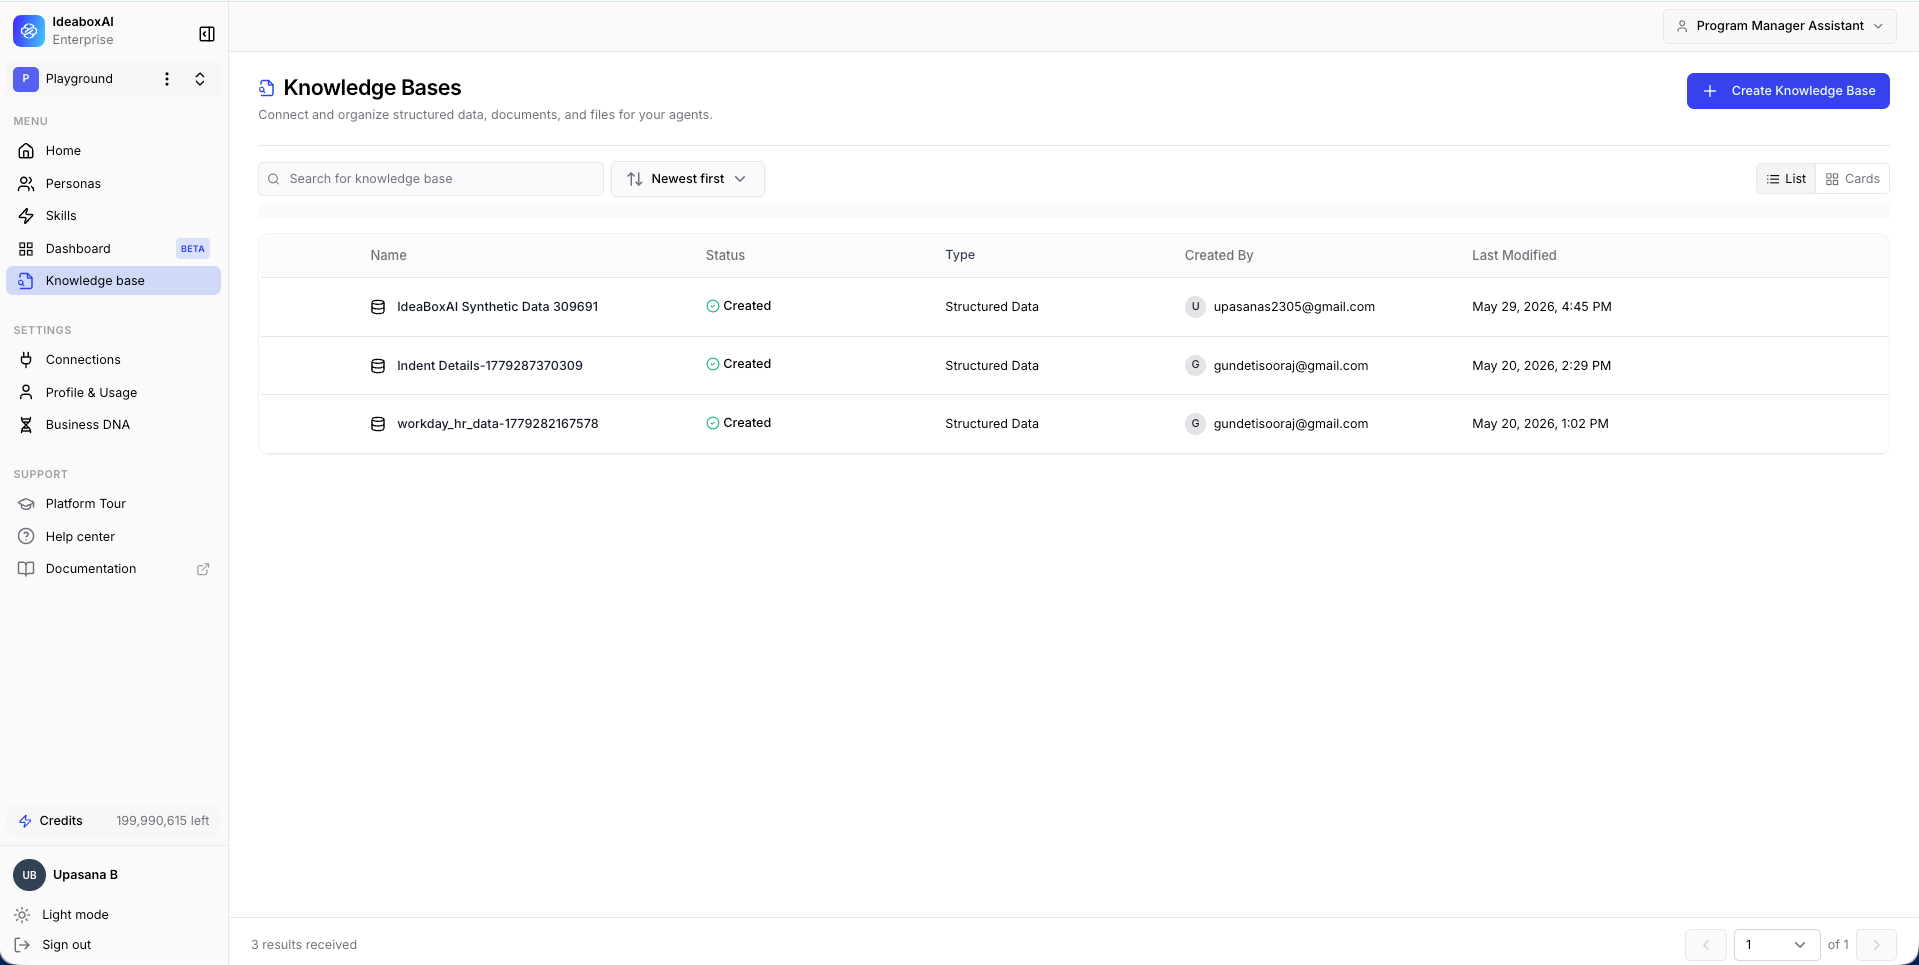
Create a new knowledge base
Click + Create Knowledge Base. A type selection modal appears. Select Unstructured Data and click Next. The Name and Description modal appears. Fill in the following fields: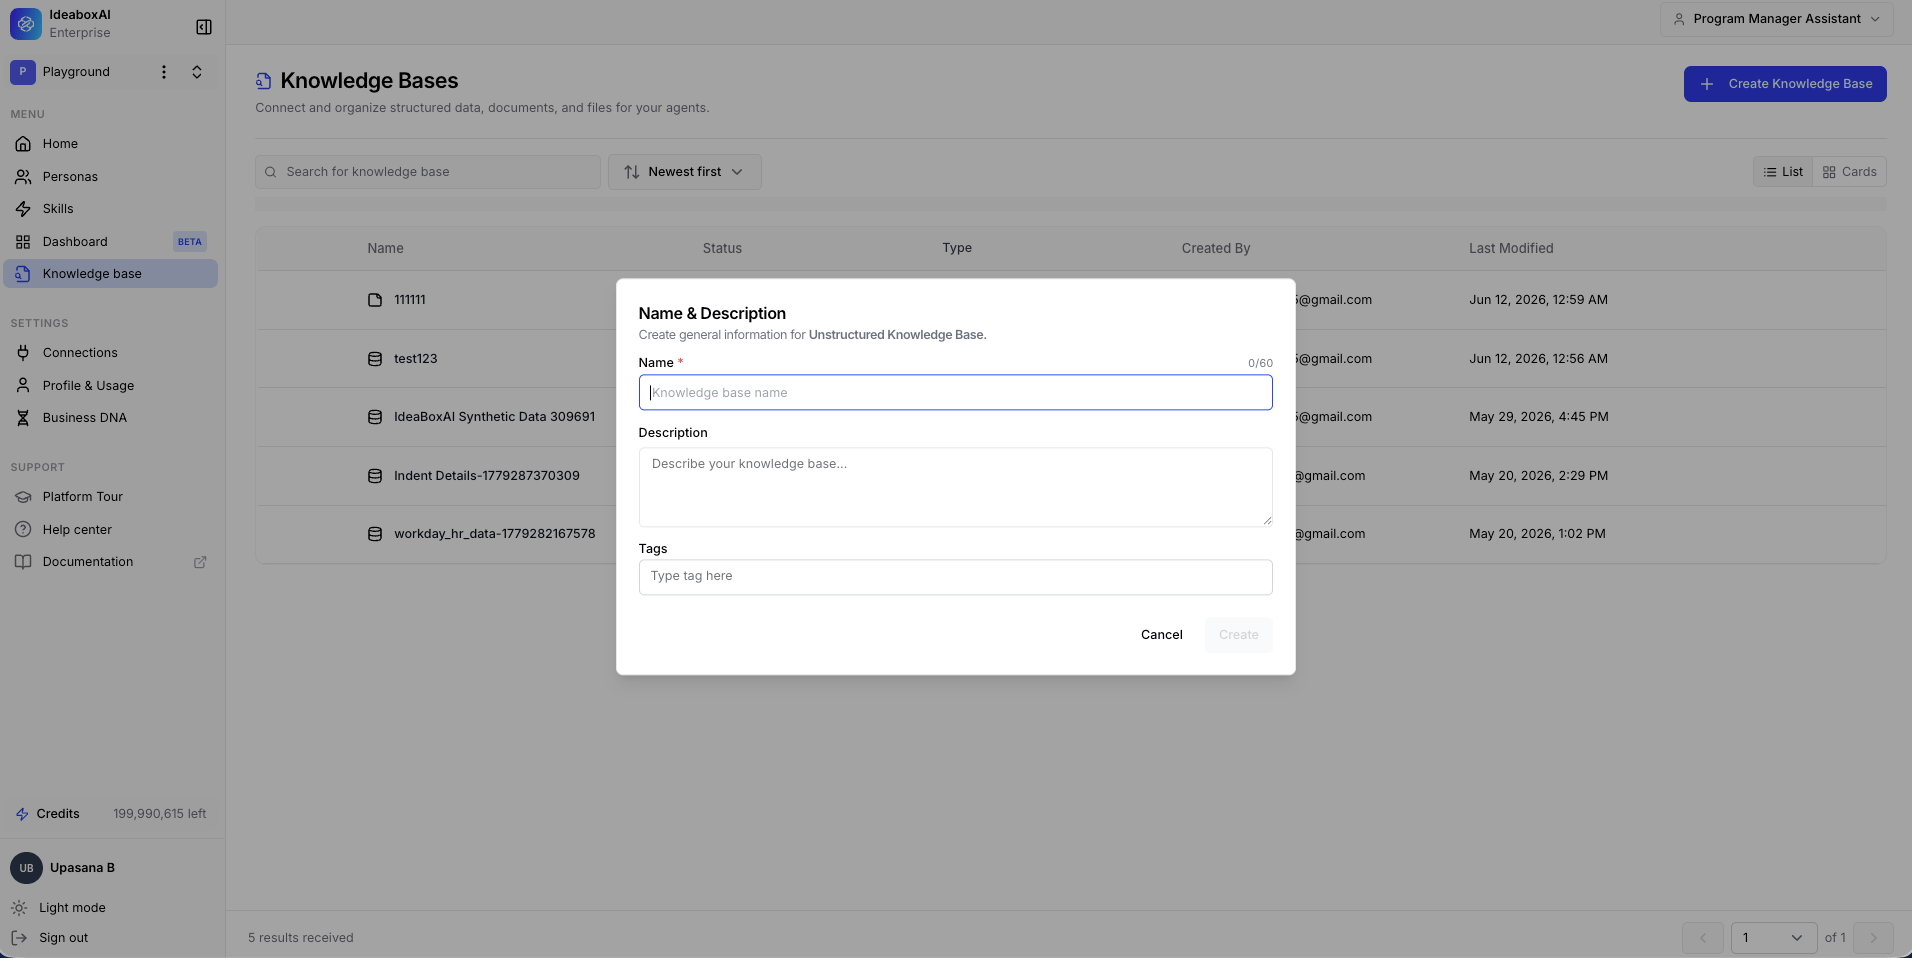
- Name (required): Use a clear naming convention, for example “Sales Playbooks 2026” or “RFP Answer Library”.
- Description: Explain what data this knowledge base contains and which personas will use it.
- Tags: Add domain or team tags, for example “sales”, “onboarding”, “CRE”.
Add data sources
The empty Data Source panel appears. Click + Add Data to reveal four options.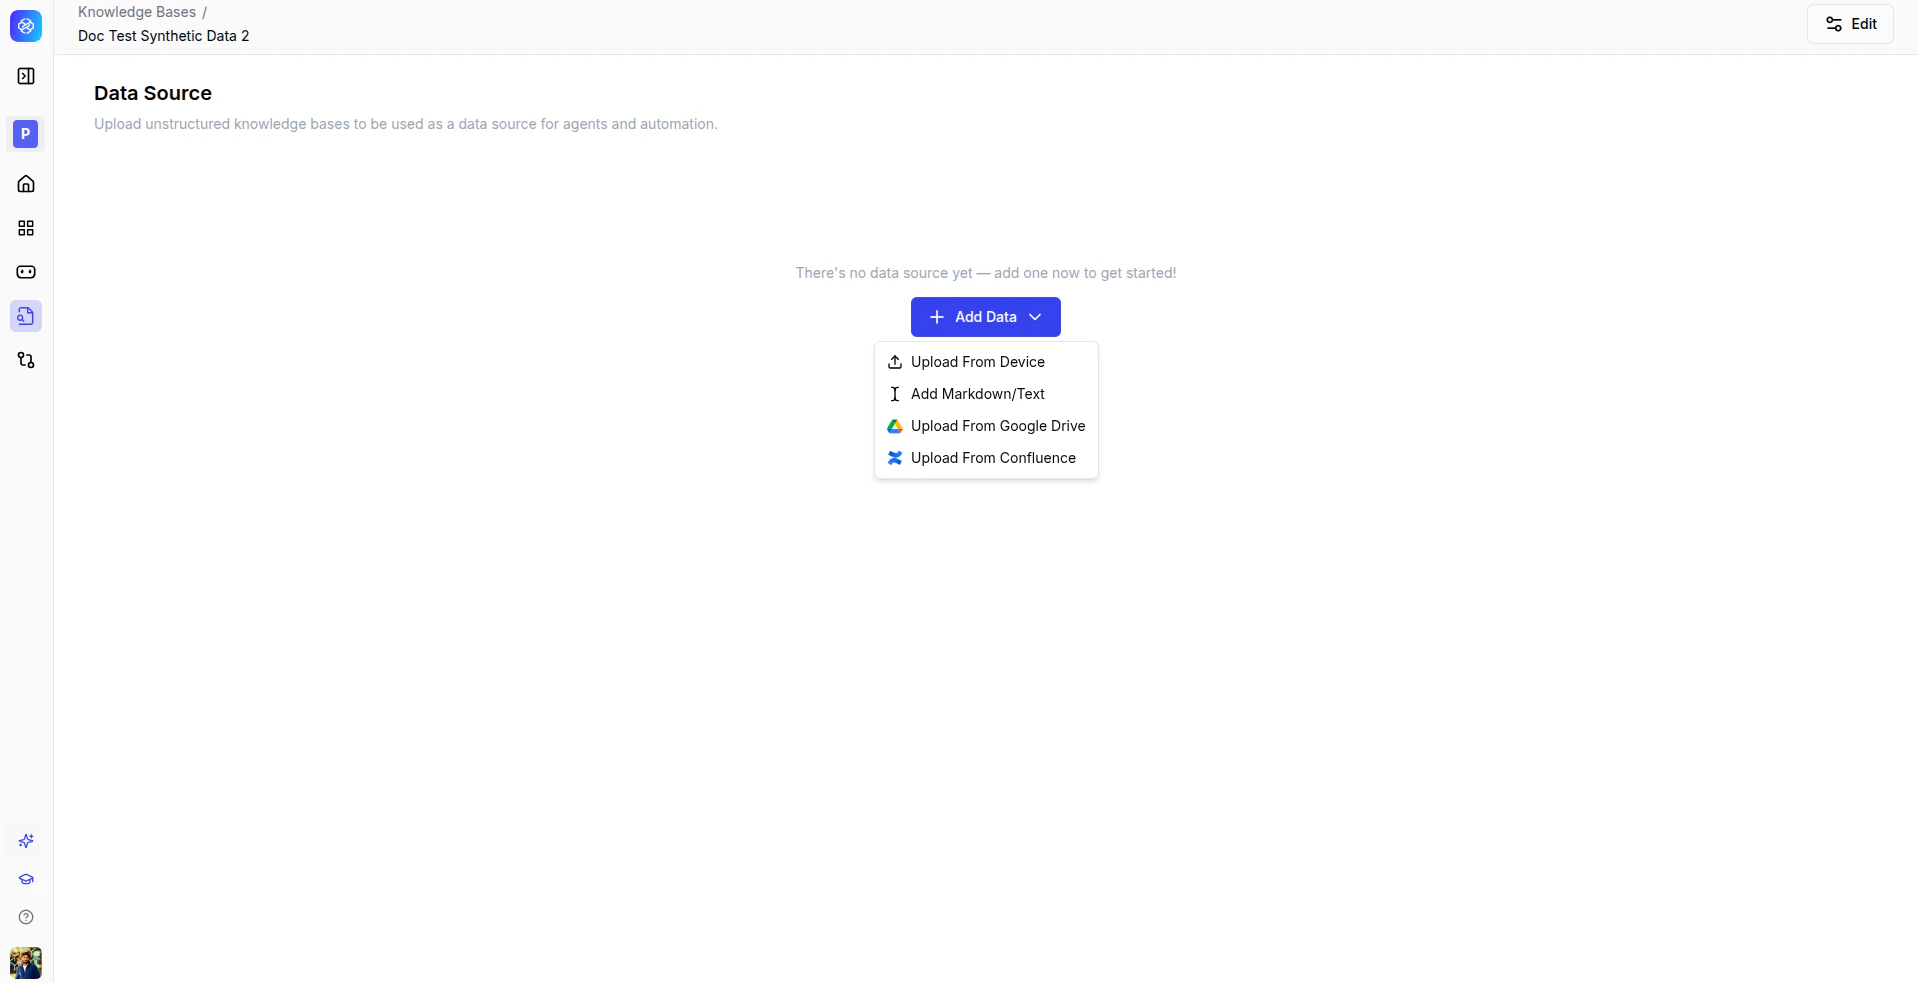
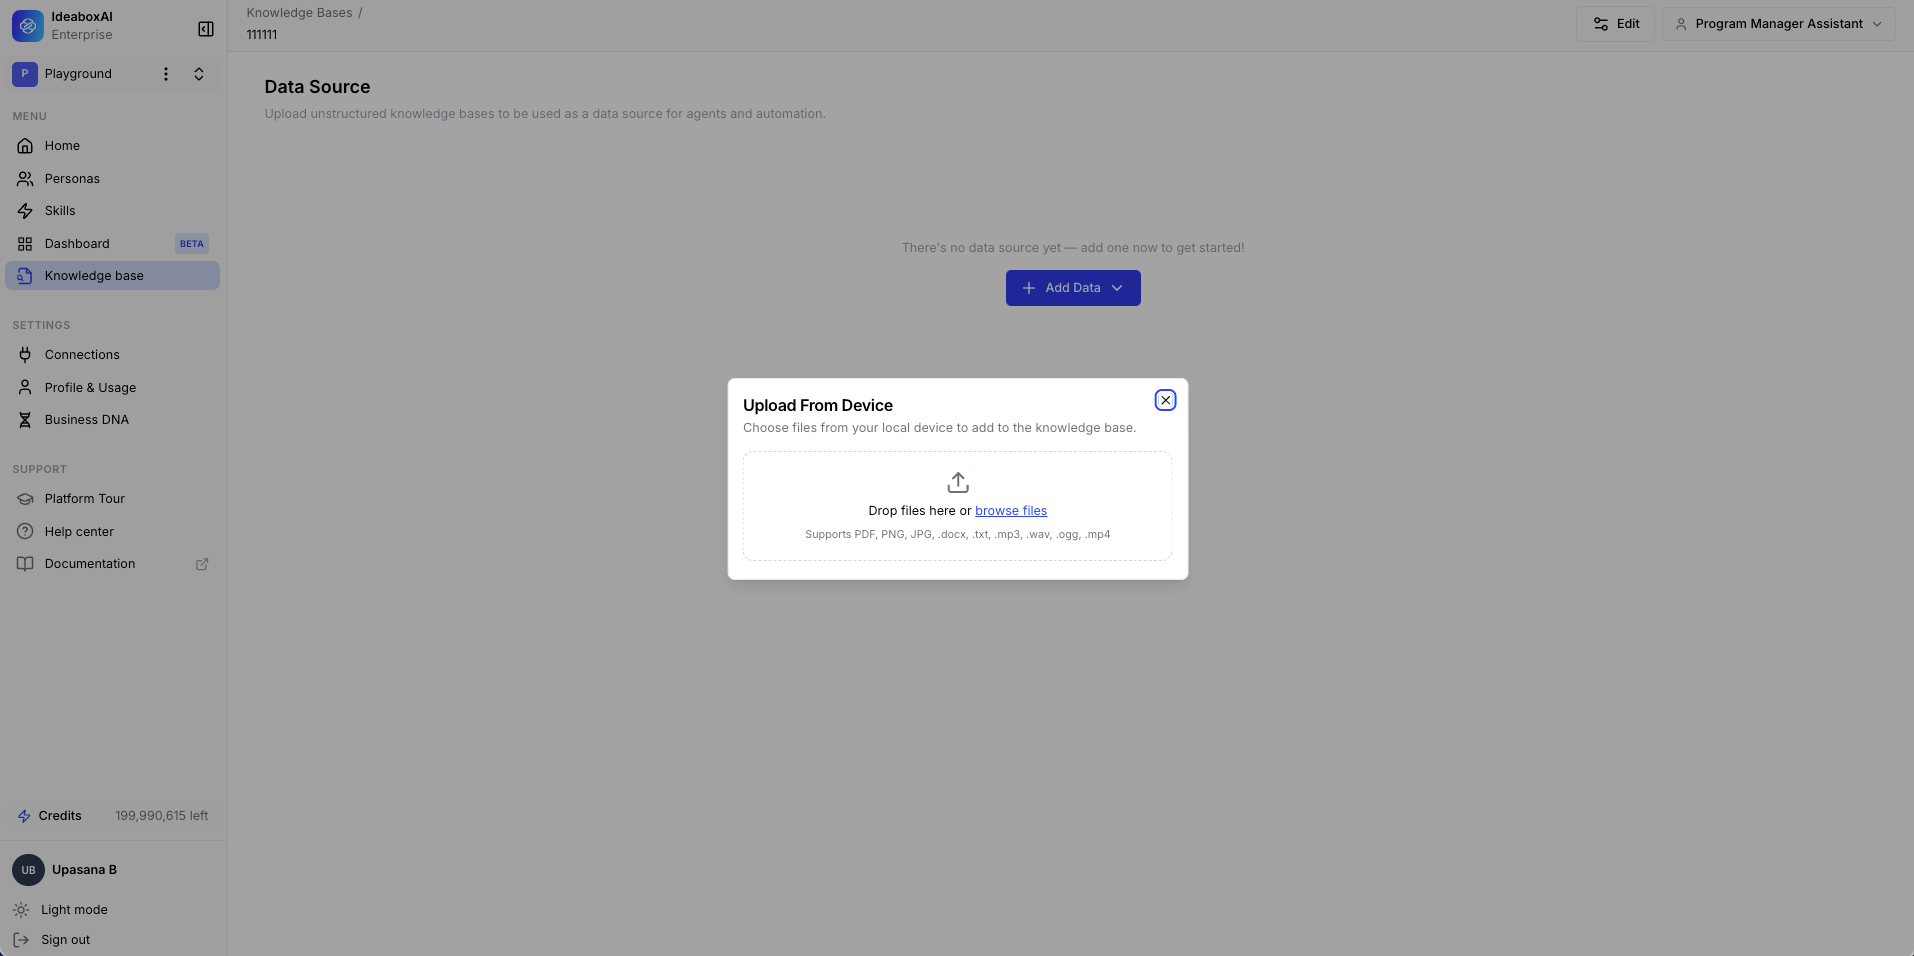
- Upload From Device: Drop files or browse to select them. Supports PDF, PNG, JPG, DOCX, TXT, MP3, WAV, OGG, and MP4. Batch upload is supported.
- Add Markdown/Text: Paste or type content directly into the editor. Useful for SOPs, playbooks, or knowledge articles without a file.
- Upload From Google Drive: Authenticate with your Google account, browse your Drive folders, and select files or folders to import.
- Upload From Confluence: Authenticate with your Confluence workspace, browse spaces and pages, and select content to import.
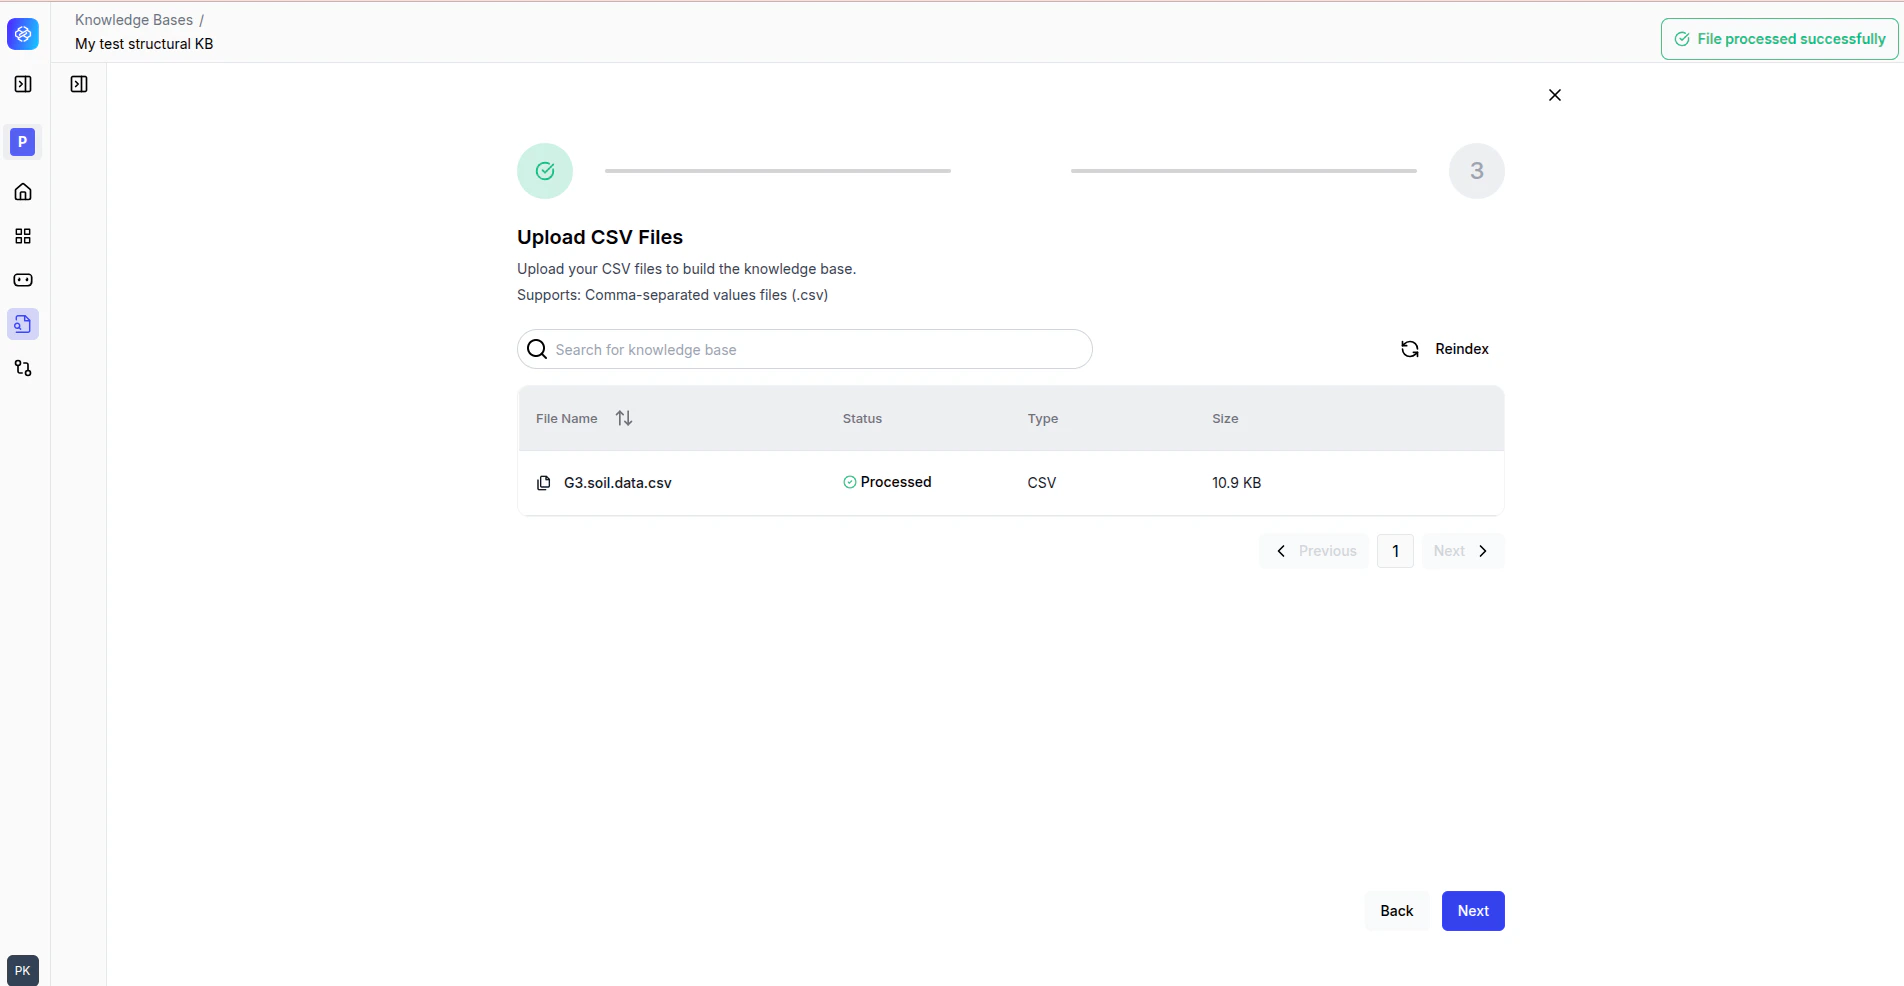
Monitor processing status
After upload, each file appears in the data source table with columns for file name, status, file type, and size. The status transitions from Processing to Processed.

Set up a structured data knowledge base
Use this type for relational databases, spreadsheets, or any structured data source.Create a structured knowledge base
Click + Create Knowledge Base. Select Structured Data. Enter a name, description, and tags in the Name and Description modal, then click Create.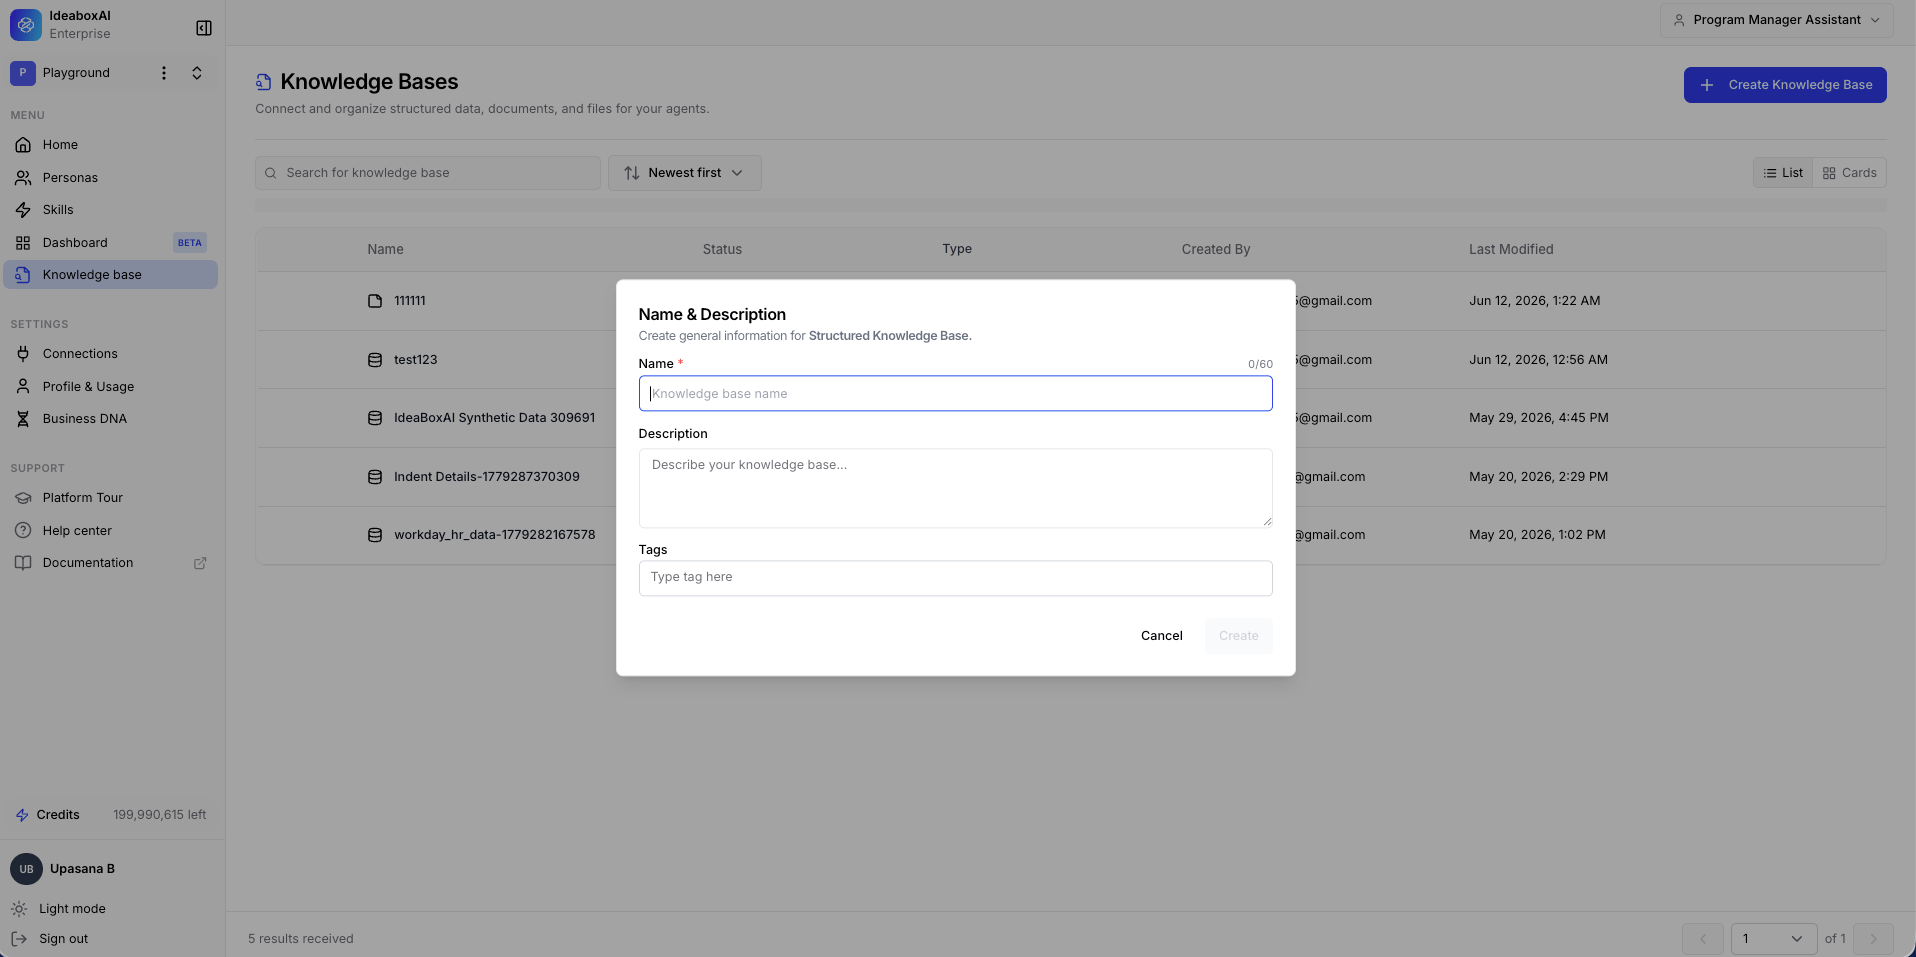
Select your data source
The Connect Your External Knowledge Base page appears. Choose from two categories:Spreadsheet: CSV, Excel, or Google Sheets (coming soon).Database Connection: MySQL, Zen, ClickHouse, SQL Server, PostgreSQL, Actian, Zoho Book Analytics, or Snowflake.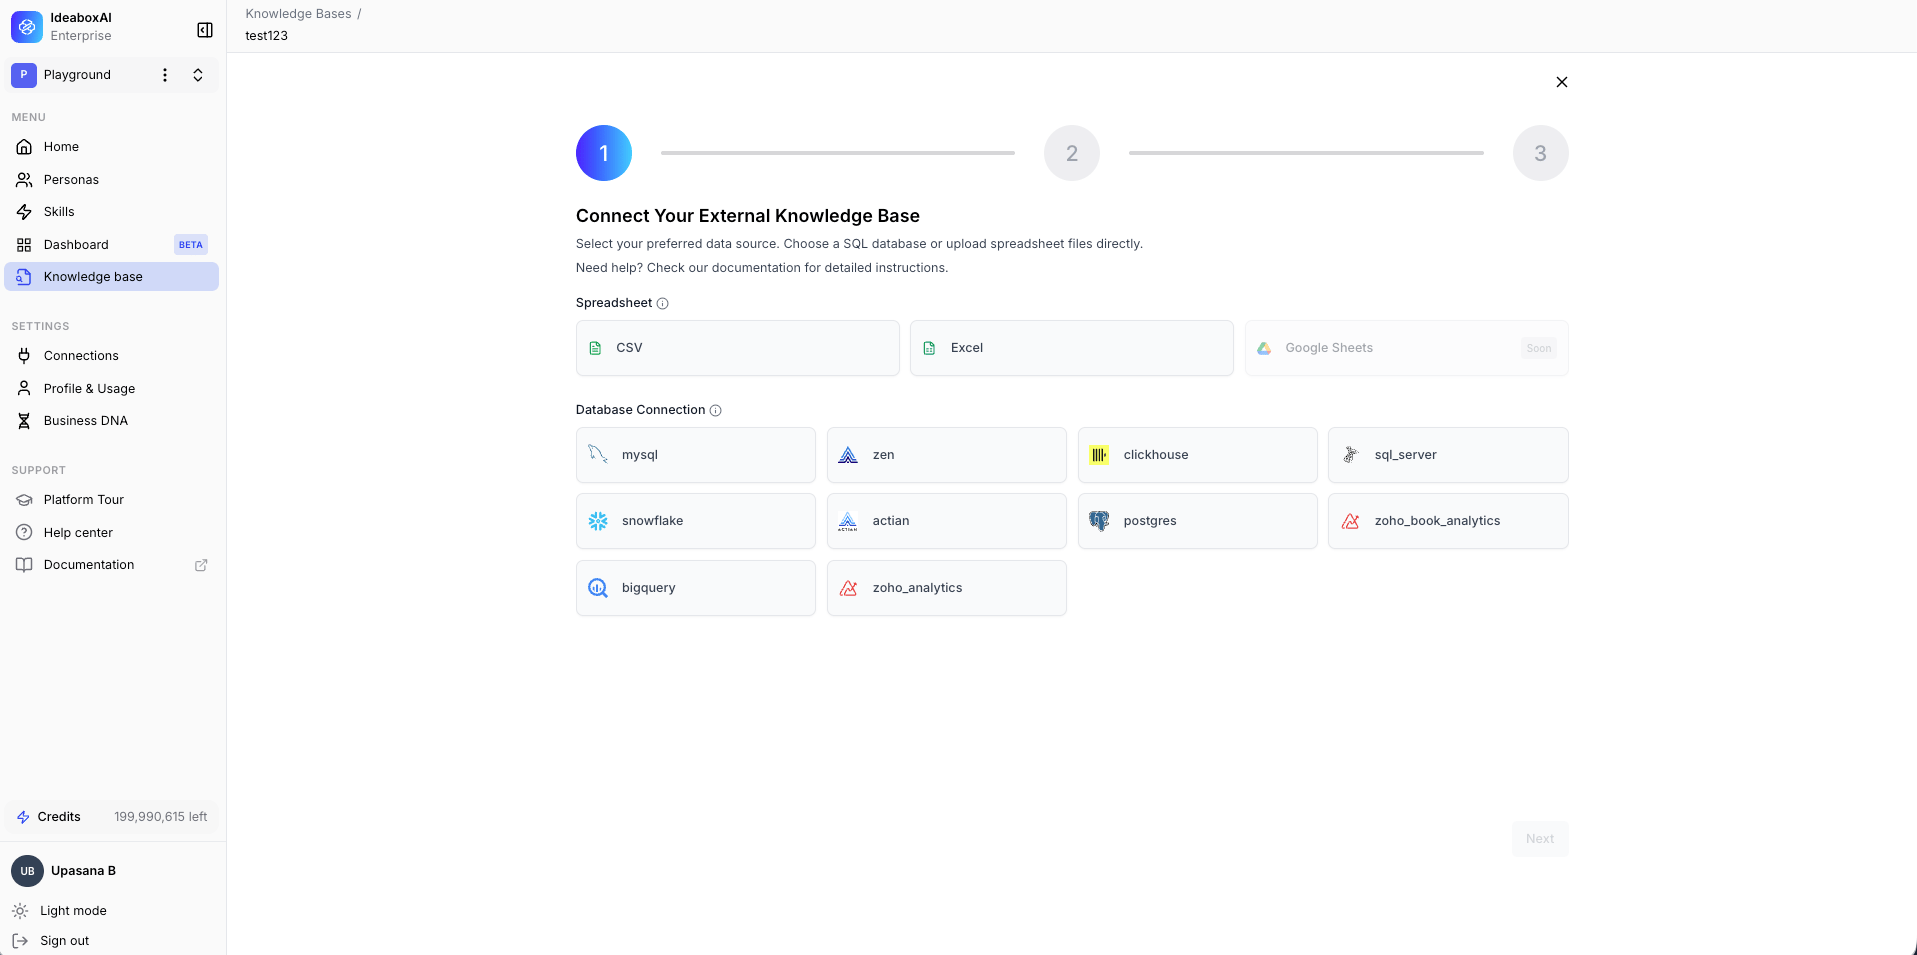
Connect your database
If you selected a database connection, the Enter Database Credentials form appears. Fill in the following fields: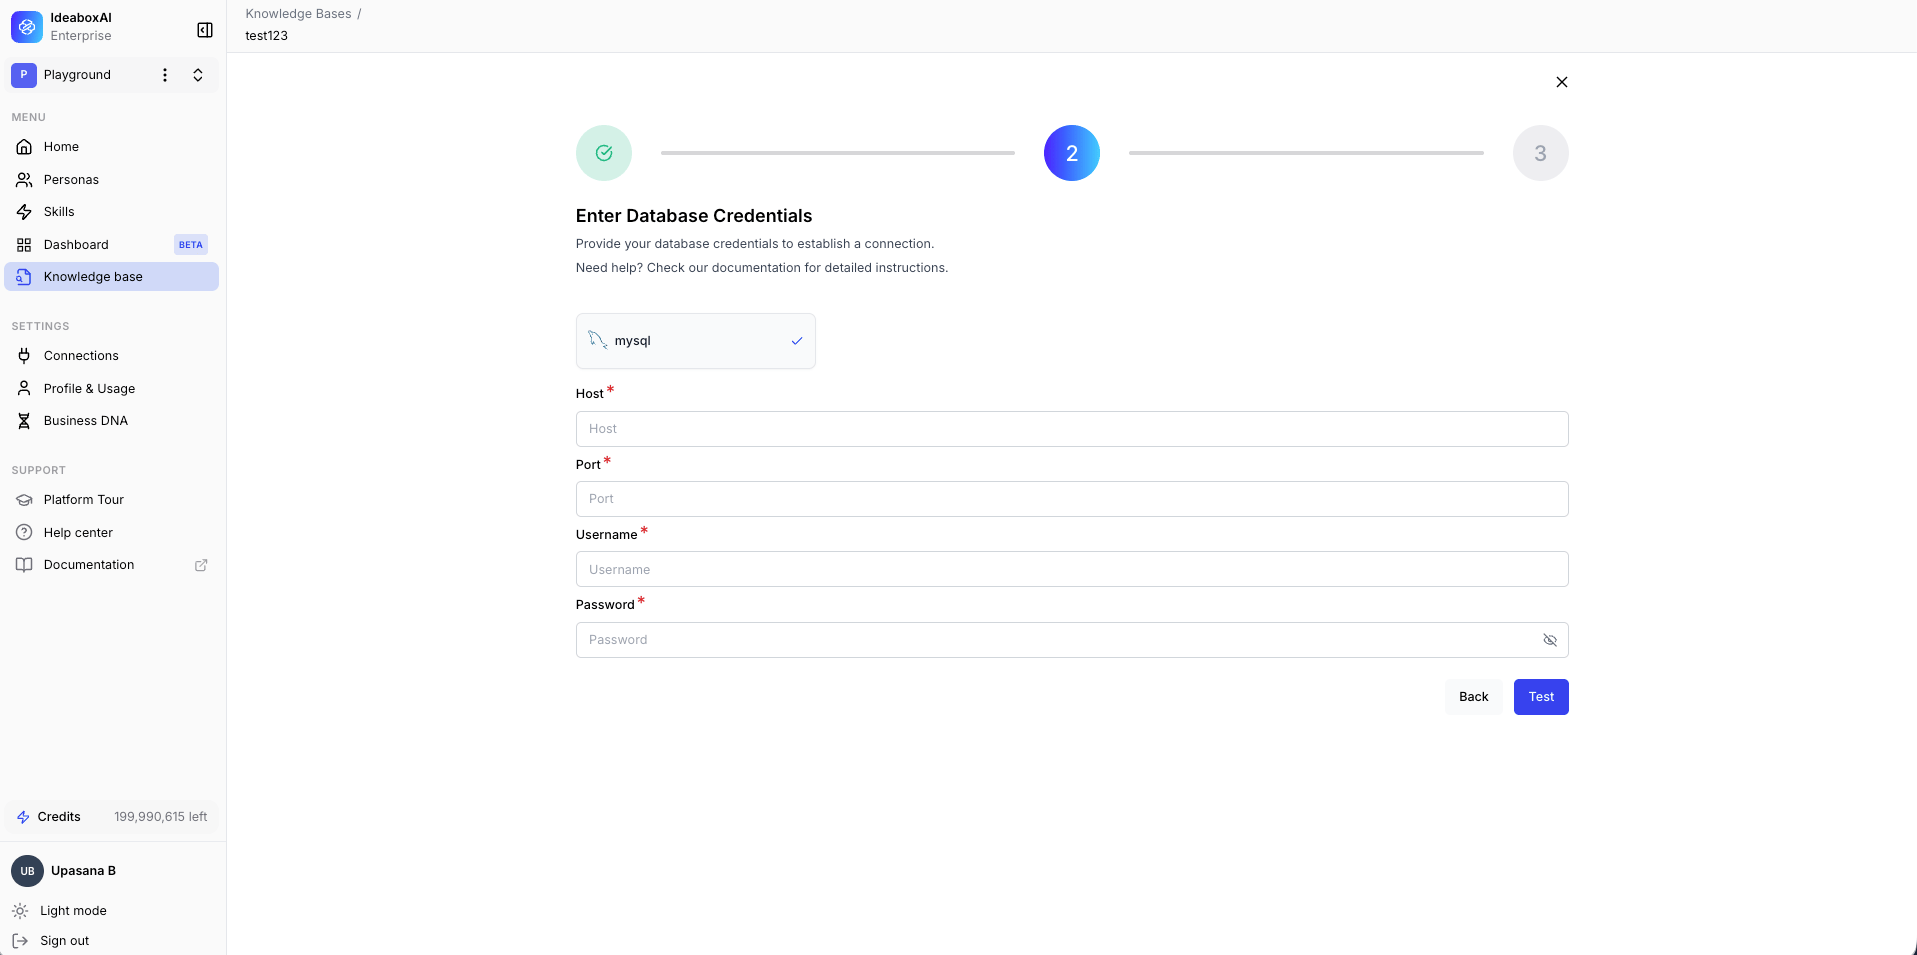
- Host (required): Your database server address or IP.
- Port (required): Database port (PostgreSQL: 5432, MySQL: 3306, Snowflake: 443).
- Username (required): A database user with read access.
- Password (required): The database password.
Explore the datasets view
After a successful connection, IdeaBoxAI imports your database schema. The Datasets view shows:
- Left sidebar: All database tables (Data Sets).
- Centre panel: Table relationships, joins, and column details.
- Options: Enhance with AI, Add Semantics, and Define Relationships.
Create cubes (analytical models)
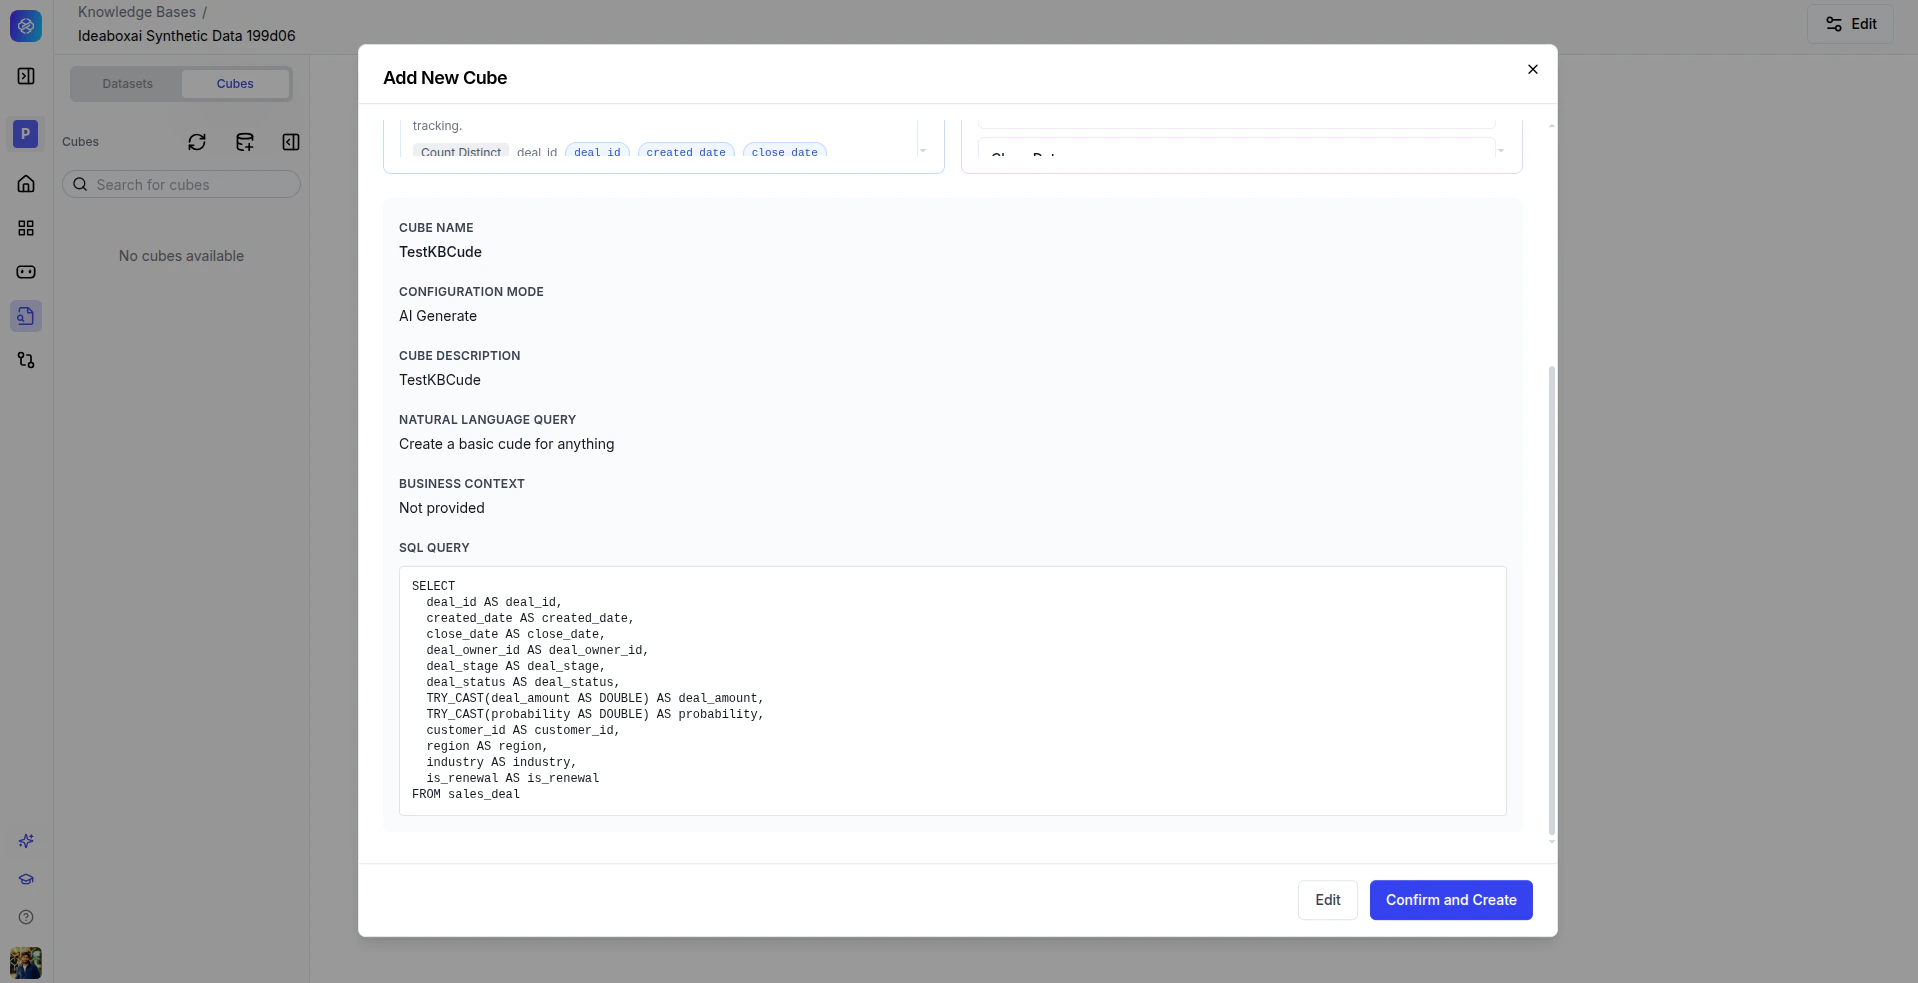
Cubes sit on top of your raw tables and define metrics (measures) and groupings (dimensions) for AI queries. Navigate to the Cubes tab and click + Add Cube to open the Add New Cube modal.Option A, AI Generate (recommended for most cases):Enter a cube name, cube description, natural language query describing the analytics you want, and business context. Click Generate. The AI writes the SQL, measures, and dimensions.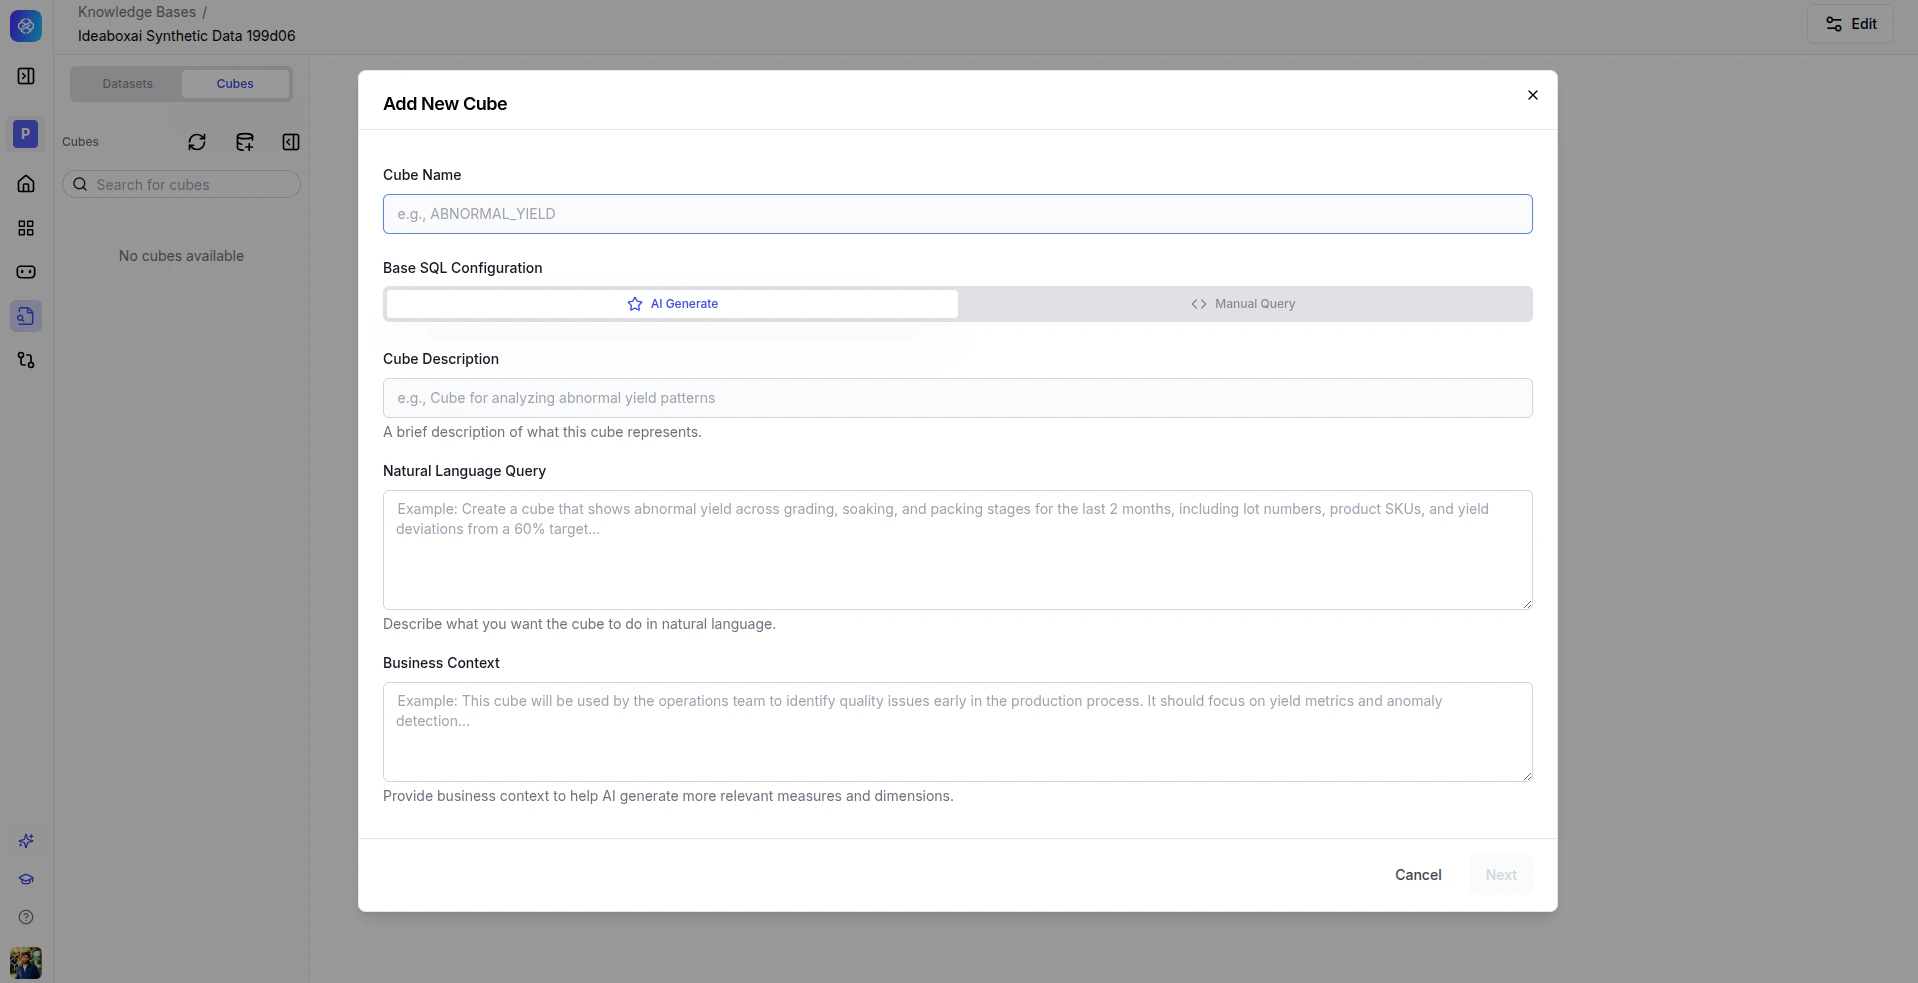
Execute and validate queries
In the cube configuration panel, select measures, dimensions, and filters, then click Run Query. Results appear in the Results tab. Also check the Generated SQL tab to inspect the query and the REST API tab for programmatic access. Validate results against your source data.
Next steps
Connector directory
Browse all available connectors by category.
Cubes
Build analytical models with measures, dimensions, and queryable APIs.
Troubleshooting
Resolve common connection issues for databases and imports.